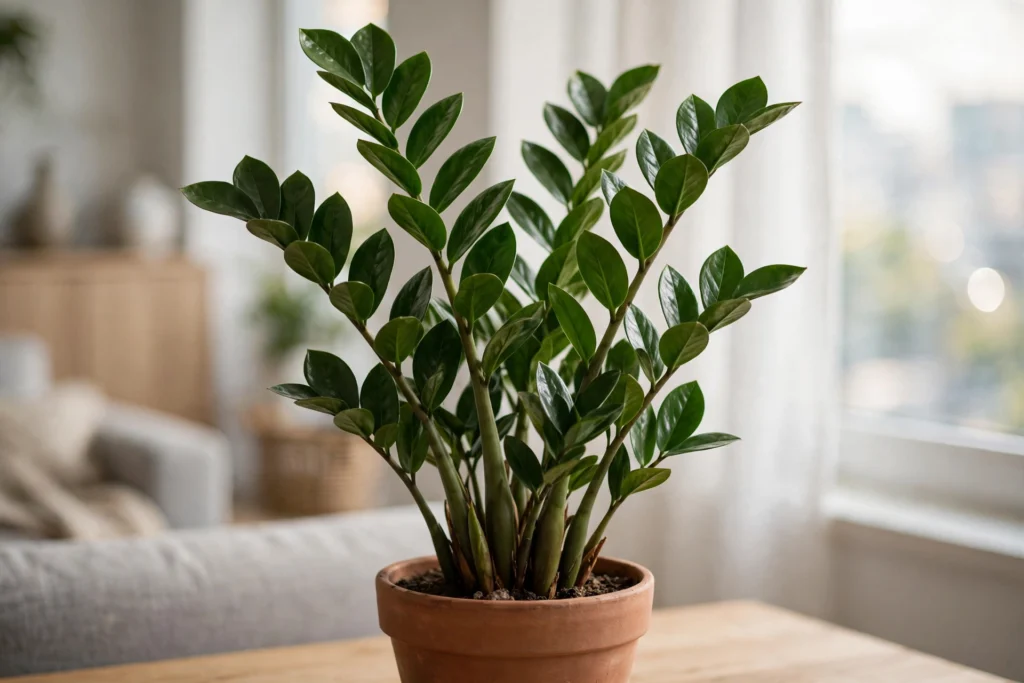
The ZZ plant gets sold as the plant you cannot kill. Glossy leaves, survives dark corners, shrugs off missed waterings. Then a few months in, yours starts dropping yellow leaves, the stems lean, and nothing you do seems to help.
Here is the uncomfortable truth most care guides skip. The ZZ plant is not hard to keep alive. But it is easy to kill in exactly the ways beginners naturally care for plants. Every instinct a new plant owner brings, water it like other plants, give it a big pot to grow into, repot it right away, feed it to help it grow, works against the ZZ.
This guide covers the nine beginner mistakes that actually kill ZZ plants, why each one causes damage, and the exact fix for each. If your plant is already struggling, the recovery section at the end tells you whether it can bounce back.
Quick Answer
The most common ZZ plant beginner mistakes are overwatering, using a pot without drainage holes, and repotting into an oversized container. ZZ plants die far more often from too much water than too little because their thick underground rhizomes store enough water to last for weeks. Water only when the soil is fully dry, use a fast-draining mix in a pot with drainage holes, and keep the plant in bright indirect light.
Quick Take
ZZ plants store water in thick rhizomes under the soil, which makes them drought-tolerant but highly vulnerable to soggy roots. The beginner mistakes that cause real damage are almost all variations on one theme: too much moisture around the roots. Overwatering, pots without drainage, heavy soil, and oversized containers all trap water where rhizomes rot. Other common errors are subtler, like moving the plant into harsh direct sun, placing it in total darkness, overfeeding, and repotting roughly. Almost every one of these is fixable if you catch the damage early.
The pattern I see again and again with new ZZ owners is not neglect. It is over-attention. People kill ZZ plants by caring for them the way they care for ferns or calatheas, with frequent watering and rich, moisture-holding soil. In practice, the healthiest ZZ plants I have seen belong to owners who do almost nothing: a deep watering once the soil dries out, a bright window nearby, and otherwise leave it alone.
Why ZZ Plants Forgive Everything Except Wet Roots
Before the mistakes, one piece of biology makes everything else click. A ZZ plant grows from thick underground rhizomes that function as water tanks. In its native East African habitat it survives long dry spells by drawing on this stored water. The root system is built for drought, not for constant moisture.
So when a beginner waters a ZZ the way they water a peace lily, the rhizomes sit in wet soil with no way to use the water. Oxygen drops, fungal organisms move in, and the rhizomes soften and rot. Once a rhizome rots, the stem above it starves and yellows. That is why overwatering symptoms often look like thirst: yellow, drooping leaves caused by roots that can no longer absorb water at all.
Keep this mechanism in mind as you read the mistakes below. Almost every one connects back to it.
Mistake 1: Watering on a Schedule Instead of Checking the Soil
The number one ZZ plant killer is watering every week because the calendar says so. Indoor light, temperature, humidity, and pot size all change how fast soil dries, so a fixed schedule is wrong half the year. Winter is the worst offender. A ZZ in a cool room may take four weeks to dry out, and weekly watering drowns it slowly.
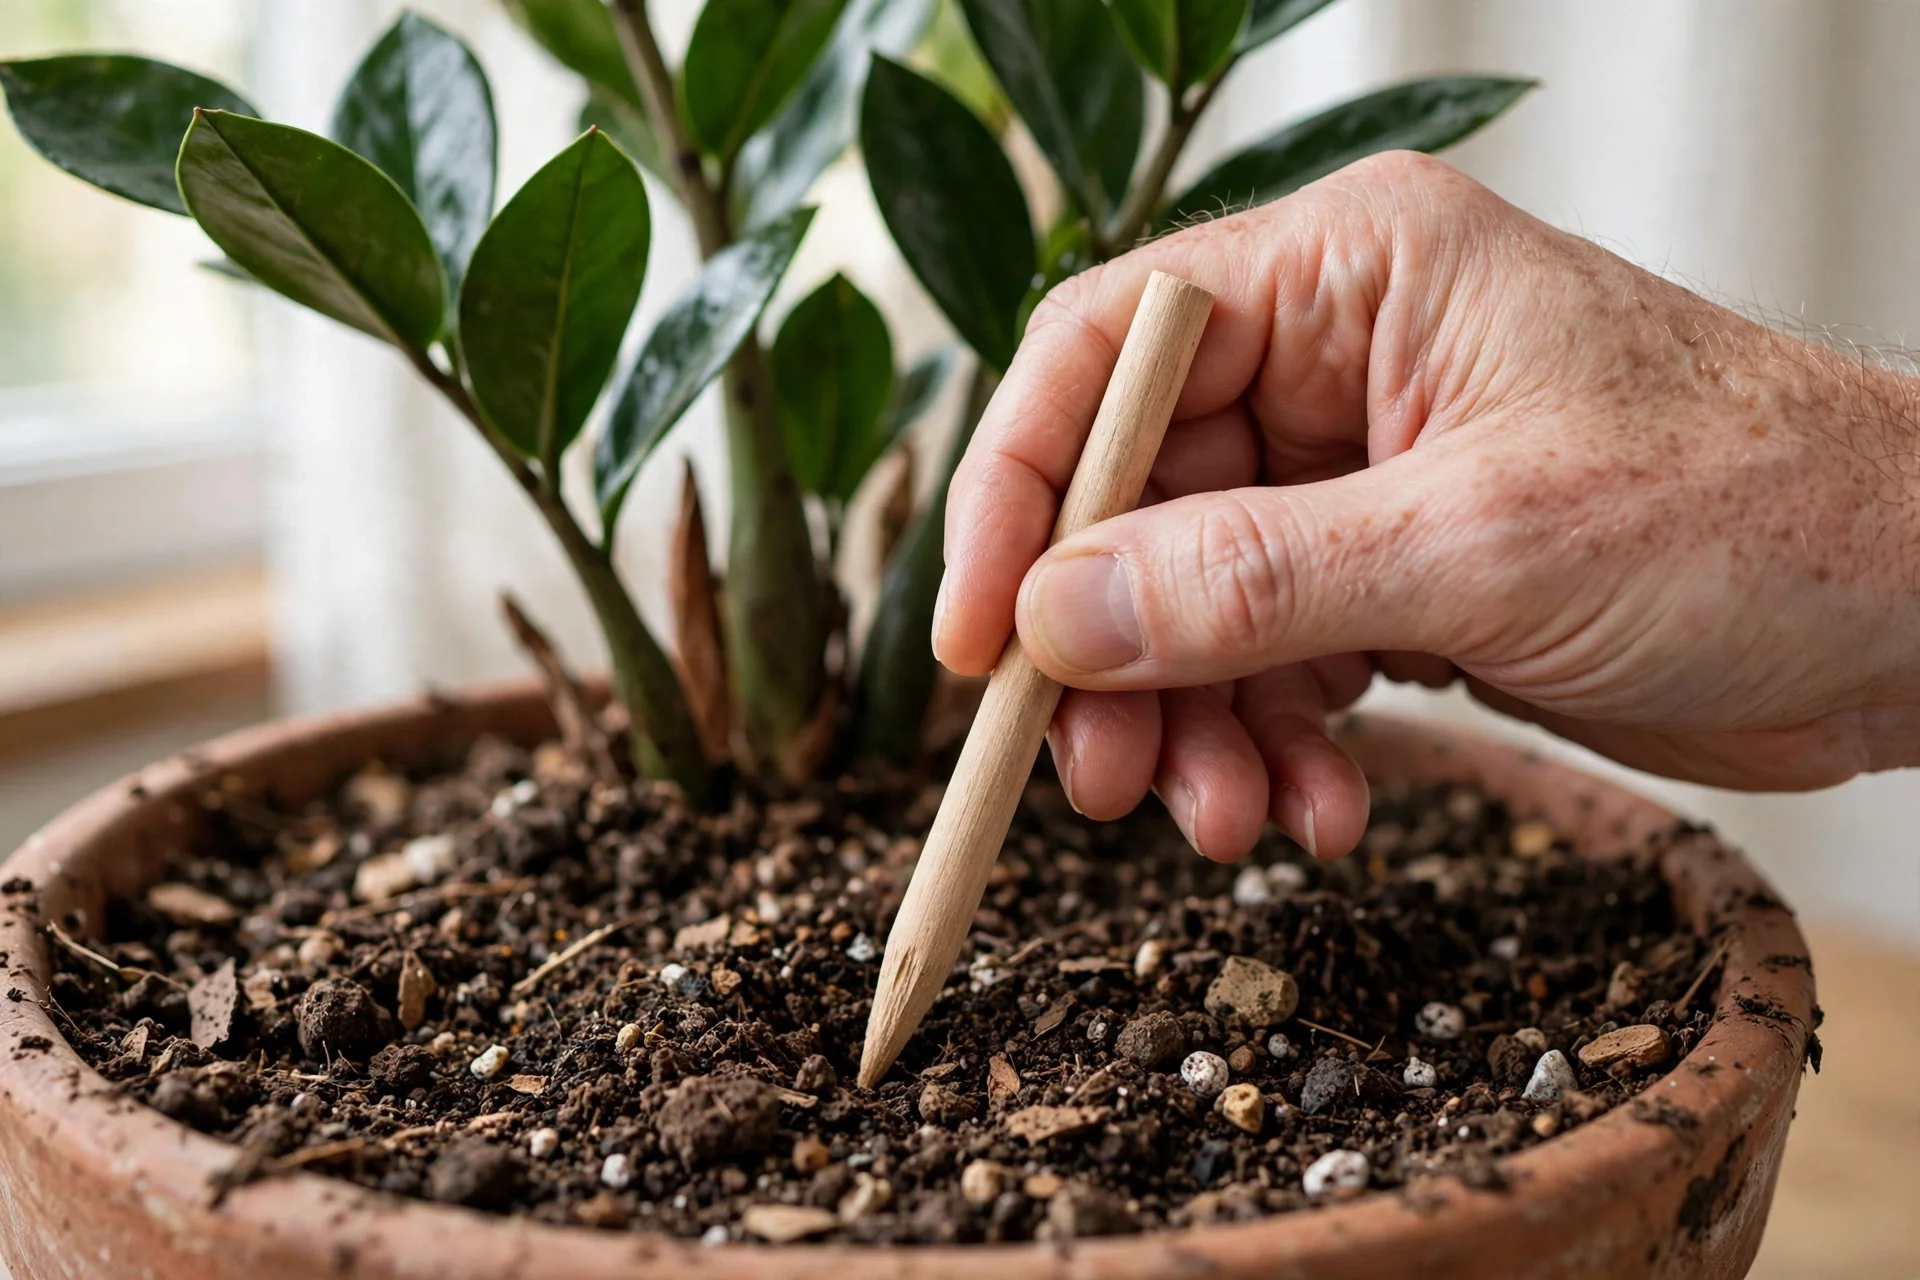
Check the soil instead. Push a finger two to three inches into the mix, or lift the pot and judge by weight. Water only when the soil is fully dry at depth. When you do water, water deeply until it runs out the drainage holes, then empty the saucer after ten minutes.
If you are unsure, waiting one more week is almost always safer than watering one week early. A ZZ tolerates drought far better than dampness.
Mistake 2: Using a Pot Without Drainage Holes
Decorative cache pots look great on a shelf and kill ZZ plants quietly. Without drainage holes, every watering adds water with nowhere to go. The bottom of the pot stays wet even when the top feels dry, and the rhizomes sit in that wet layer. This is also why saucers left full of water are dangerous.
There is one small exception. You can keep the decorative pot if the ZZ stays planted in a nursery pot with holes, and you remove it to water, let it drain fully, then set it back. Otherwise, repot into a container with drainage holes at the bottom. Terracotta helps too, because the porous clay wicks moisture out of the soil.
For a deeper explanation of what excess water does to the roots, see how overwatered ZZ plant root rot develops and how to reverse it.
Mistake 3: Repotting Into a Pot That Is Too Big
Beginners often move a new ZZ into a pot two or three sizes larger, thinking the plant needs room to grow. That extra soil holds water the small root system cannot absorb, so the mix stays damp for weeks and the rhizomes rot.
ZZ plants grow slowly and actually prefer to be slightly snug. When you repot, go up only one size, about one to two inches wider than the current pot. Repot every two to three years, or when roots visibly fill the pot or push the plant upward. Spring or early summer is the right season.
Mistake 4: Using Heavy Garden Soil or Moisture-Retaining Mix
Regular garden soil compacts, suffocates roots, and holds far too much water for a ZZ. Even standard indoor potting mix straight from the bag is often too dense, because it is designed for thirstier plants.
Use a light, fast-draining mix. A cactus or succulent mix works well, or standard potting soil amended with about 30 percent perlite or coarse sand. The mix should feel gritty and let water run through quickly. When you water, the pot should stop dripping within a minute or two, not stay heavy and wet.
Mistake 5: Repotting Roughly and Disturbing the Rootball
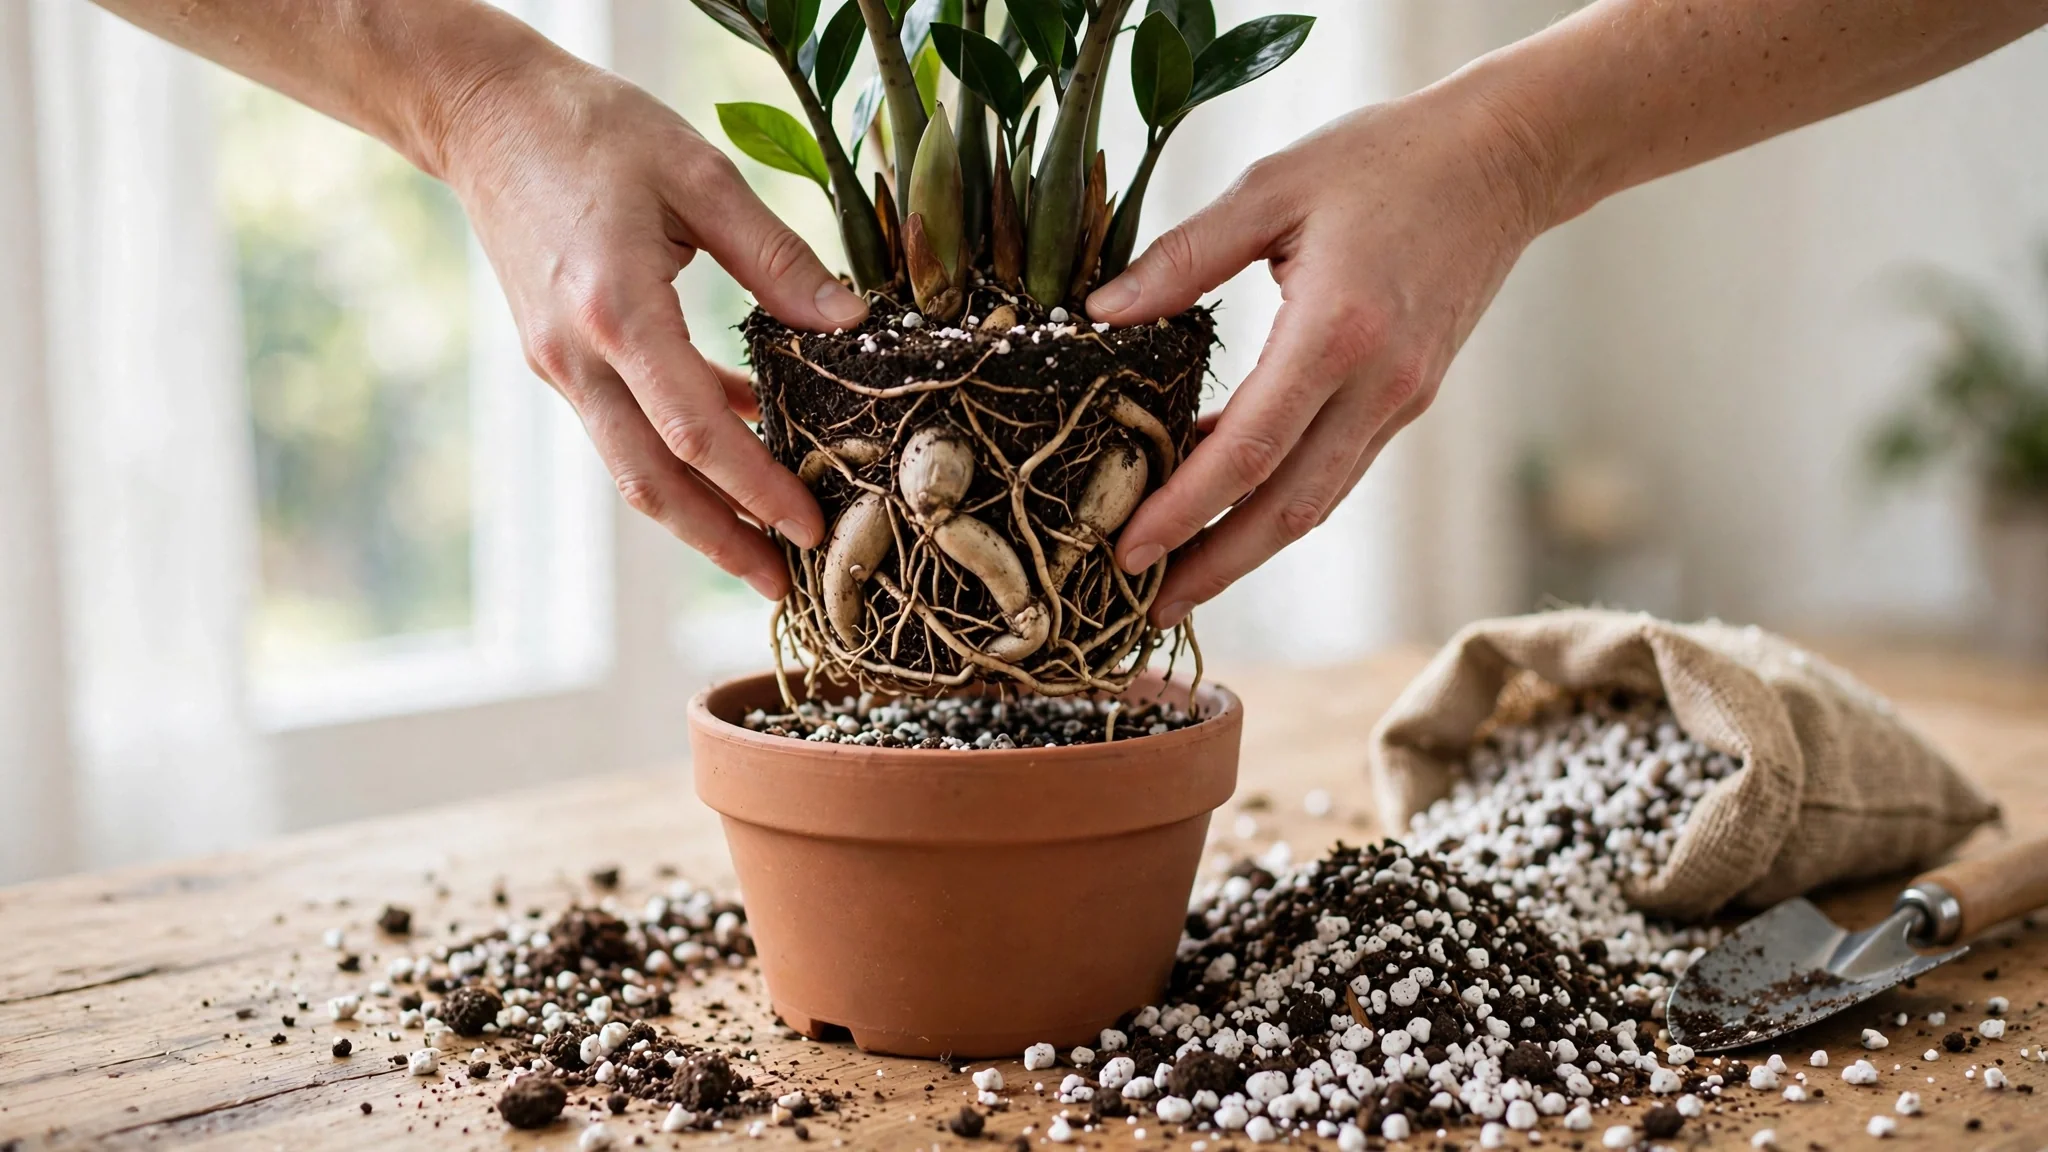
Beginners treat repotting like a full renovation: washing old soil off the roots, teasing the rootball apart, trimming aggressively. ZZ rhizomes and their fine root hairs are easily damaged, and wounds in a damp environment invite rot. One common injury is removing soil from the top of the rootball and adding new soil on top, which keeps the original root zone damp far too long.
Repot gently. Slide the plant out, leave the rootball intact, place it at the same depth in the new pot, and fill around it with fresh mix. Do not water immediately. Wait a few days before watering, then water lightly, since the rhizomes store plenty of water and the rest period protects fresh root injuries.
For the full routine, read our ZZ plant care guide.
Mistake 6: Putting It in Direct Hot Sun
ZZ plants tolerate low light, so beginners sometimes swing the other way and park the plant in a blazing south window. The leaves scorch. You will see pale, bleached patches or crispy brown areas where the sun hits hardest.
Bright indirect light is the sweet spot. Near an east window, a few feet back from a south window, or behind a sheer curtain all work. More light means faster growth and faster water use, which also means you need to check the soil more often in bright spots. See the best low-light spots for ZZ plants in apartments for placement ideas.
Mistake 7: Placing It in Total Darkness
Low light is not the same as no light. A ZZ can survive in a dim corner, but it still needs some brightness to photosynthesize. In near-darkness, growth stalls completely, stems stretch weak and pale toward any light source, and wet soil stays wet even longer because the plant barely drinks.
If your corner gets almost no natural light, move the plant to a brighter room or add a small grow light on a timer. A ZZ in low light also needs less water than one in bright light, so adjust your watering checks down.
Mistake 8: Overfertilizing
Beginners assume fertilizer is plant food and more of it means faster growth. A ZZ is a slow grower with low nutrient needs, and excess fertilizer causes salt buildup that burns roots and browns leaf tips.
Fertilizing is optional. If you feed at all, use a balanced houseplant fertilizer at half strength, once or twice during the spring and summer growing season only, which matches the feeding guidance for ZZ plants at Apartment Therapy. Never fertilize a stressed or recently repotted plant, and never fertilize in winter.
Mistake 9: Expecting Fast Growth and Acting Out of Impatience
A new ZZ owner watches for a month, sees no new stems, and assumes something is wrong. So they water more, feed it, move it around, repot it again. Every intervention stresses a plant that was probably fine. New ZZ stems take weeks to unfurl, growth pauses in winter, and low light makes everything slower.
Patience is the actual care requirement. A healthy ZZ in average indoor light may only push a few new stems a year. That is normal, not a problem. If your plant looks healthy but quiet, read why a ZZ plant is not growing before you change anything.
Diagnose It: Mistake, Symptom, Fix
Use this table when your plant looks off. Find the symptom, identify the likely mistake, and apply the fix.
- Yellow leaves, soft stems — Overwatering — Stop watering, let soil dry fully, check roots
- Yellow leaves on a dry plant — Pot with no drainage — Repot into a pot with drainage holes
- Mushy rhizomes or sour-smelling soil — Root rot from wet mix — Unpot, cut away mushy parts, repot in dry fast-draining mix
- Brown crispy leaf tips — Underwatering or salt buildup — Water deeply when dry, flush soil every few months
- Bleached pale patches — Direct hot sun — Move to bright indirect light
- Long pale stretched stems — Too little light — Move to a brighter spot
- Leaning stems toward a window — Uneven light — Rotate the plant every few weeks
- No new growth for months — Normal slow growth, or low light — Be patient, improve light
- Wilted look despite wet soil — Rotted roots cannot absorb water — Check roots for rot, repot if needed
For yellow foliage specifically, the causes break down further in our guide to yellow ZZ leaves.
What You Need to Fix These Mistakes
Fixing ZZ plant mistakes costs almost nothing. Keep this small kit on hand.
- A wooden chopstick or moisture meter for checking soil dryness at depth
- Perlite or coarse sand to amend potting mix
- A cactus or succulent potting mix, or standard mix plus perlite
- A nursery pot with drainage holes, one size up from the current pot
- A soft damp cloth for wiping leaves, which helps them photosynthesize
Note that the plant itself needs nothing from this list urgently. Most fixes are about doing less, not buying more.
Signs Your ZZ Is Recovering
After you correct a mistake, give the plant two to four weeks before judging. Real recovery looks like this. New spears emerge from the base of the plant. Existing stems feel firm and upright. Yellow leaves stop spreading to new leaves. The soil dries on a normal cycle again.
It is normal for already-damaged leaves to keep looking bad. A yellowed leaf will not turn green again, and a rotted stem will not heal. Judge recovery by new growth and by the damage stopping, not by old leaves improving.
Signs the Damage Has Gone Too Far
Be honest about the worst cases. If you unpot the plant and every rhizome is mushy and brown, with no firm tissue left, that plant is finished. A sour or rotten smell from the rootball is another bad sign.
But a ZZ with some firm rhizomes is almost always saveable. Cut away all mushy tissue with a clean knife, let the cuts dry for a day, and repot the firm parts in dry, fast-draining mix. Hold water for a week. ZZ plants have come back from a single firm rhizome and patience.
If you want backup plants while the main one recovers, you can propagate healthy stems you trim during the rescue. The process is slow but straightforward.
FAQs
How do I know if I am overwatering my ZZ plant?
Yellow leaves on a plant with damp soil are the classic sign. Check deeper than the surface. If the soil two to three inches down is wet days after watering, or the stems feel soft, you are watering too often. Let the soil dry out fully before watering again, and make sure the pot drains freely.
Can a ZZ plant recover from overwatering?
Yes, in most cases. If the rhizomes are still firm when you check the roots, the plant will recover once the soil dries and the watering routine changes. Only mushy, rotted rhizomes cannot be saved, and even a partial rootball of firm rhizomes can regrow.
Do ZZ plants like to be root bound?
They tolerate being slightly root bound better than being in an oversized pot. Repot every two to three years, going up just one to two inches in pot diameter. A snug pot helps the soil dry at the right pace.
How much light does a ZZ plant actually need?
It grows best in bright indirect light but tolerates low light. It cannot live in darkness. In lower light, growth slows and watering needs drop, so check the soil less eagerly. Avoid direct hot afternoon sun, which scorches the leaves.
Should I mist a ZZ plant?
No. Average indoor humidity is fine, and misting adds moisture the plant does not need while wetting leaves that prefer to stay dry. If dust builds up, wipe the leaves with a damp cloth instead.
Why are my ZZ plant stems leaning?
Stems usually lean toward the light. Rotate the plant a quarter turn every few weeks for even growth. Very long, heavy stems can also lean on their own weight, which is normal. If leaning comes with soft stems or yellow leaves, check for root problems instead.
Can you save a ZZ plant with root rot?
Often yes. Unpot the plant, cut away every mushy brown rhizome and root with a clean knife, let the cuts dry for a day, and repot the firm parts in a dry, fast-draining mix. Wait a week before watering lightly. New growth may take weeks to appear, so judge by the damage stopping, not by speed.
The Real Secret
The ZZ plant rewards owners who resist the urge to fuss. Almost every beginner mistake on this list comes from doing too much: too much water, too big a pot, too frequent repotting, too much fertilizer, too much intervention. Set the plant up right once, with drainage, airy soil, and decent light, then mostly leave it alone.
If you want to build that setup from scratch, start with how often to water a ZZ plant and let the soil be your guide, not the calendar.