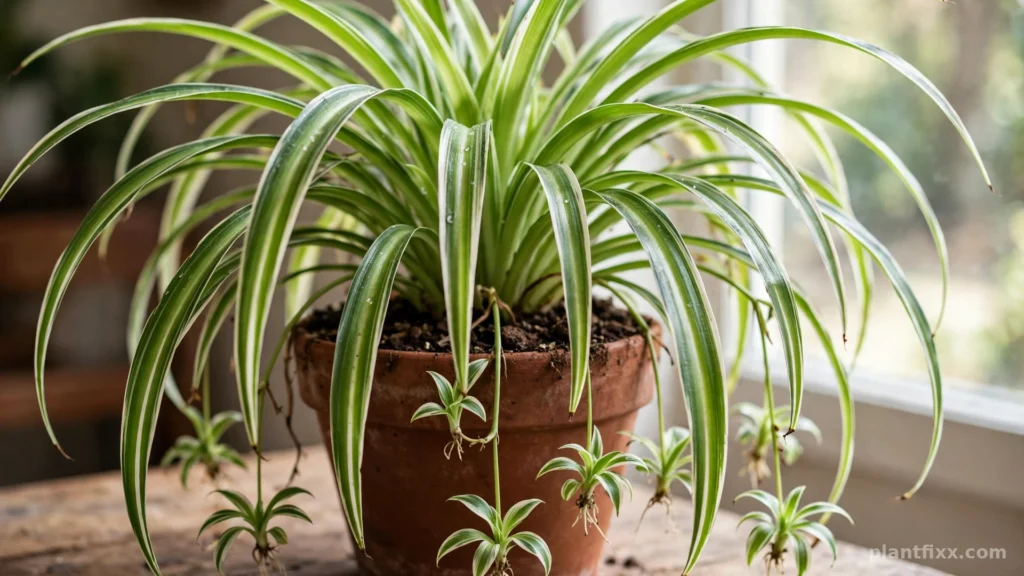
Most spider plant problems that look like watering mistakes actually start below the surface. A mix that stays wet for a week suffocates the roots, and a mix that dries into a hard brick sheds water straight down the sides of the pot. The plant looks thirsty and rotten at the same time, and no watering schedule fixes it.
The best soil for a spider plant solves both problems at once. It drains fast, holds a modest amount of moisture, and stays loose enough for the plant’s thick roots to breathe. Once the mix is right, the rest of spider plant care gets noticeably easier.
This guide gives you the exact recipe, what every ingredient does, how to test and adjust pH, and how to fix the soil problems that show up months later, from white mold to a sour smell.
The best soil for a spider plant is a loose, fast-draining potting mix with a pH of 6.0 to 7.0. Mix 2 parts peat moss or coco coir, 1 part perlite, and 1 part compost or bark fines. A standard indoor potting mix with extra perlite works just as well.
Soil decides how a spider plant handles every watering. A mix that drains in seconds but still holds some moisture protects the thick roots from rot, keeps pH in the 6.0 to 7.0 range where nutrients stay available, and stays loose for years. This guide covers the recipe, each ingredient’s job, proven alternatives, and the fixes for mold, sour smells, and compacted soil.
One mistake many people make is blaming the watering can when the mix is at fault. In practice, a spider plant in a gritty, open mix forgives an extra watering without complaint, while the same plant in dense, peat-heavy soil rots even when you water carefully. We see the pattern every time a struggling plant gets repotted into a looser mix: the roots recover first, and the leaves follow a few weeks later.
Why the Right Soil Matters for a Spider Plant
A spider plant stores water in thick, fleshy roots and short tuberous rhizomes. That storage system is why the plant survives a missed watering on a bright windowsill. It is also why wet soil hurts it so quickly. Roots built to hold water do not tolerate sitting in it, and saturated soil pushes out the air pockets those roots need.
When soil stays waterlogged, oxygen drops, root tissue softens, and rot moves in. The first signs above the soil line are slow growth, pale leaves, and brown tips that keep spreading no matter what you change. Garden writers at Hunker describe the ideal texture as a sandy loam with a near-neutral pH, which matches what the roots want: a structure that wets evenly, drains freely, and never seals shut.
Texture matters as much as ingredients. Fine, dense mixes compact a little more with every watering until water pools on the surface. A mix with visible grit and chunk keeps its structure, so the hundredth watering behaves like the first. If your plant has stalled and you cannot see why, start with our guide to a spider plant not growing and check the soil before you change anything else.
Spider Plant Soil Requirements at a Glance
Every spider plant soil mix has to balance four requirements. Get all four right and the exact recipe matters far less than people think.
Drainage comes first
Spider plant soil drainage is the requirement that decides whether roots live or rot. Water should flow through the pot and out of the drainage hole within seconds, and the mix should never hold a puddle on the surface. Drainage depends on particle size, not on good intentions. Large particles create large air gaps, and water moves through those gaps instead of sitting in them.
Aeration keeps roots breathing
Roots consume oxygen and release carbon dioxide. An open mix keeps fresh air moving around them between waterings. This is why two mixes with the same ingredients behave differently: the one blended with coarse perlite and bark stays aerated, while the one made of fine dust packs down and suffocates roots slowly.
Moisture retention, in moderation
A mix that drains must still hold some water, or you will water every second day. Peat moss, coco coir, and compost hold moisture in their fibers and release it gradually. The goal is a mix that feels evenly damp two days after watering and approaches dry by day five or six under average indoor conditions. Your spider plant watering routine and the mix have to match: a retentive mix with frequent watering is just as risky as a gritty mix watered once a month.
A texture that resists compaction
Spider plants often stay in the same pot for one to two years, so the mix has to resist breaking down. Bark fines and perlite hold their shape far longer than peat alone. When a mix collapses into sludge after a year, the usual cause is a base with no structural ingredients.
Spider Plant Soil pH: The Range and How to Test It
Spider plant soil pH should sit between 6.0 and 7.0, slightly acidic to neutral. Inside that range, the plant can absorb iron, manganese, and the other nutrients that keep the white stripes on variegated leaves bright. Outside it, nutrients stay locked in the soil even when fertilizer is present, and the plant shows pale, washed-out growth that looks like a feeding problem.
Most bagged indoor potting mixes are already adjusted into this range, so pH rarely needs work on day one. It drifts over time. Peat moss is naturally acidic and can pull the mix lower as it decomposes, while hard tap water pushes pH up with every watering.
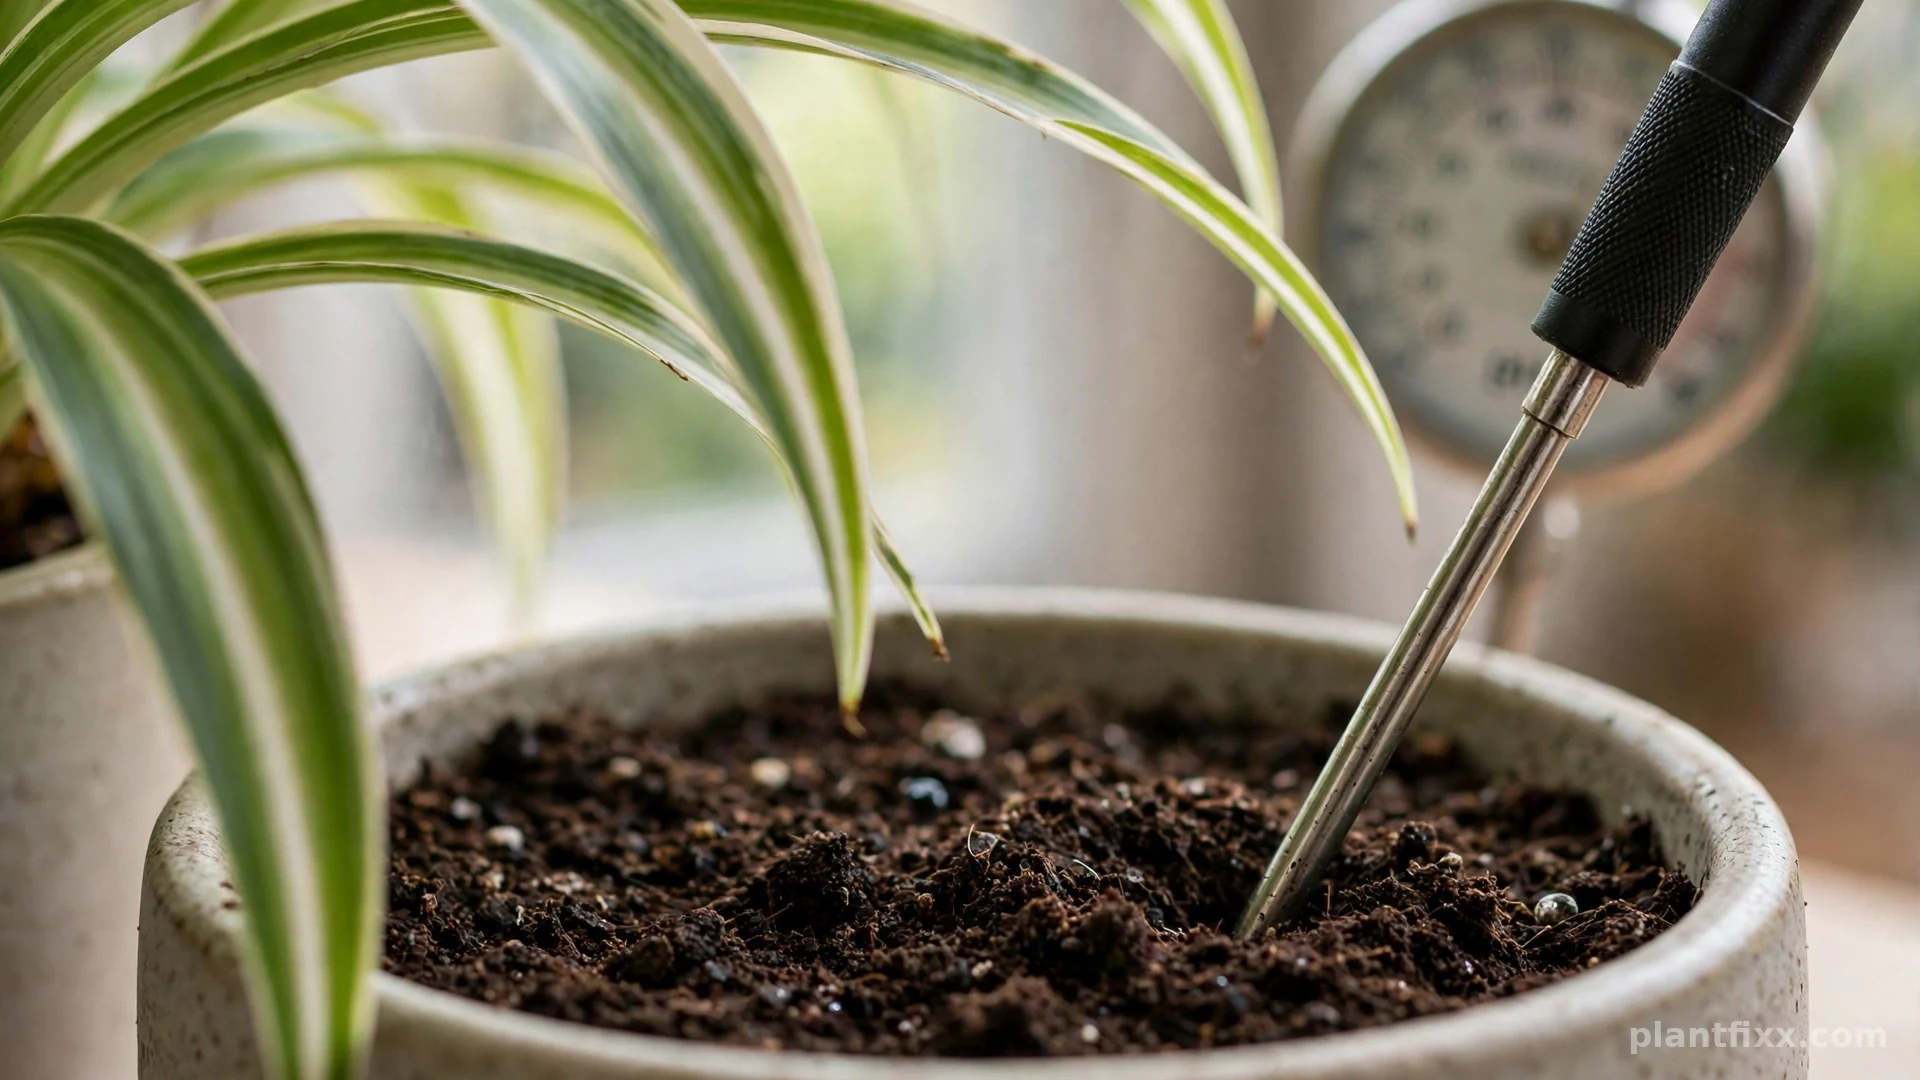
Testing takes two minutes. A probe meter pushed into moist soil gives a rough reading, and a slurry test is more accurate: mix equal parts soil and distilled water, wait 15 minutes, and test the liquid with a meter or strips. Test before you amend, not after, because guessing leads to overcorrection.
To lower pH slightly, water with a sulfur-based soil acidifier at the label rate, or work a small amount of elemental sulfur into the top layer and let soil microbes convert it over several weeks. To raise pH, stir a teaspoon of garden lime into the surface of a six-inch pot and water it in. Make one small change, wait a month, and test again. Sudden swings stress roots more than a mildly imperfect reading does.
What You Need Before You Start
Gather everything before you open a bag. You need a base material (peat moss or coco coir), a drainage material (perlite or pumice), a structure or nutrition component (pine bark fines, compost, or coarse sand), a large tub or bucket for mixing, a measuring cup or small pot for consistent parts, and water to pre-moisten the blend. If you plan to repot at the same time, have a clean pot with a drainage hole ready, one to two inches wider than the current one. Mixing dry peat straight into a pot is a mistake: dry peat repels water, so moisten the finished blend until it holds together when squeezed and releases only a drop or two.
Spider Plant Soil Ingredients and What Each One Does
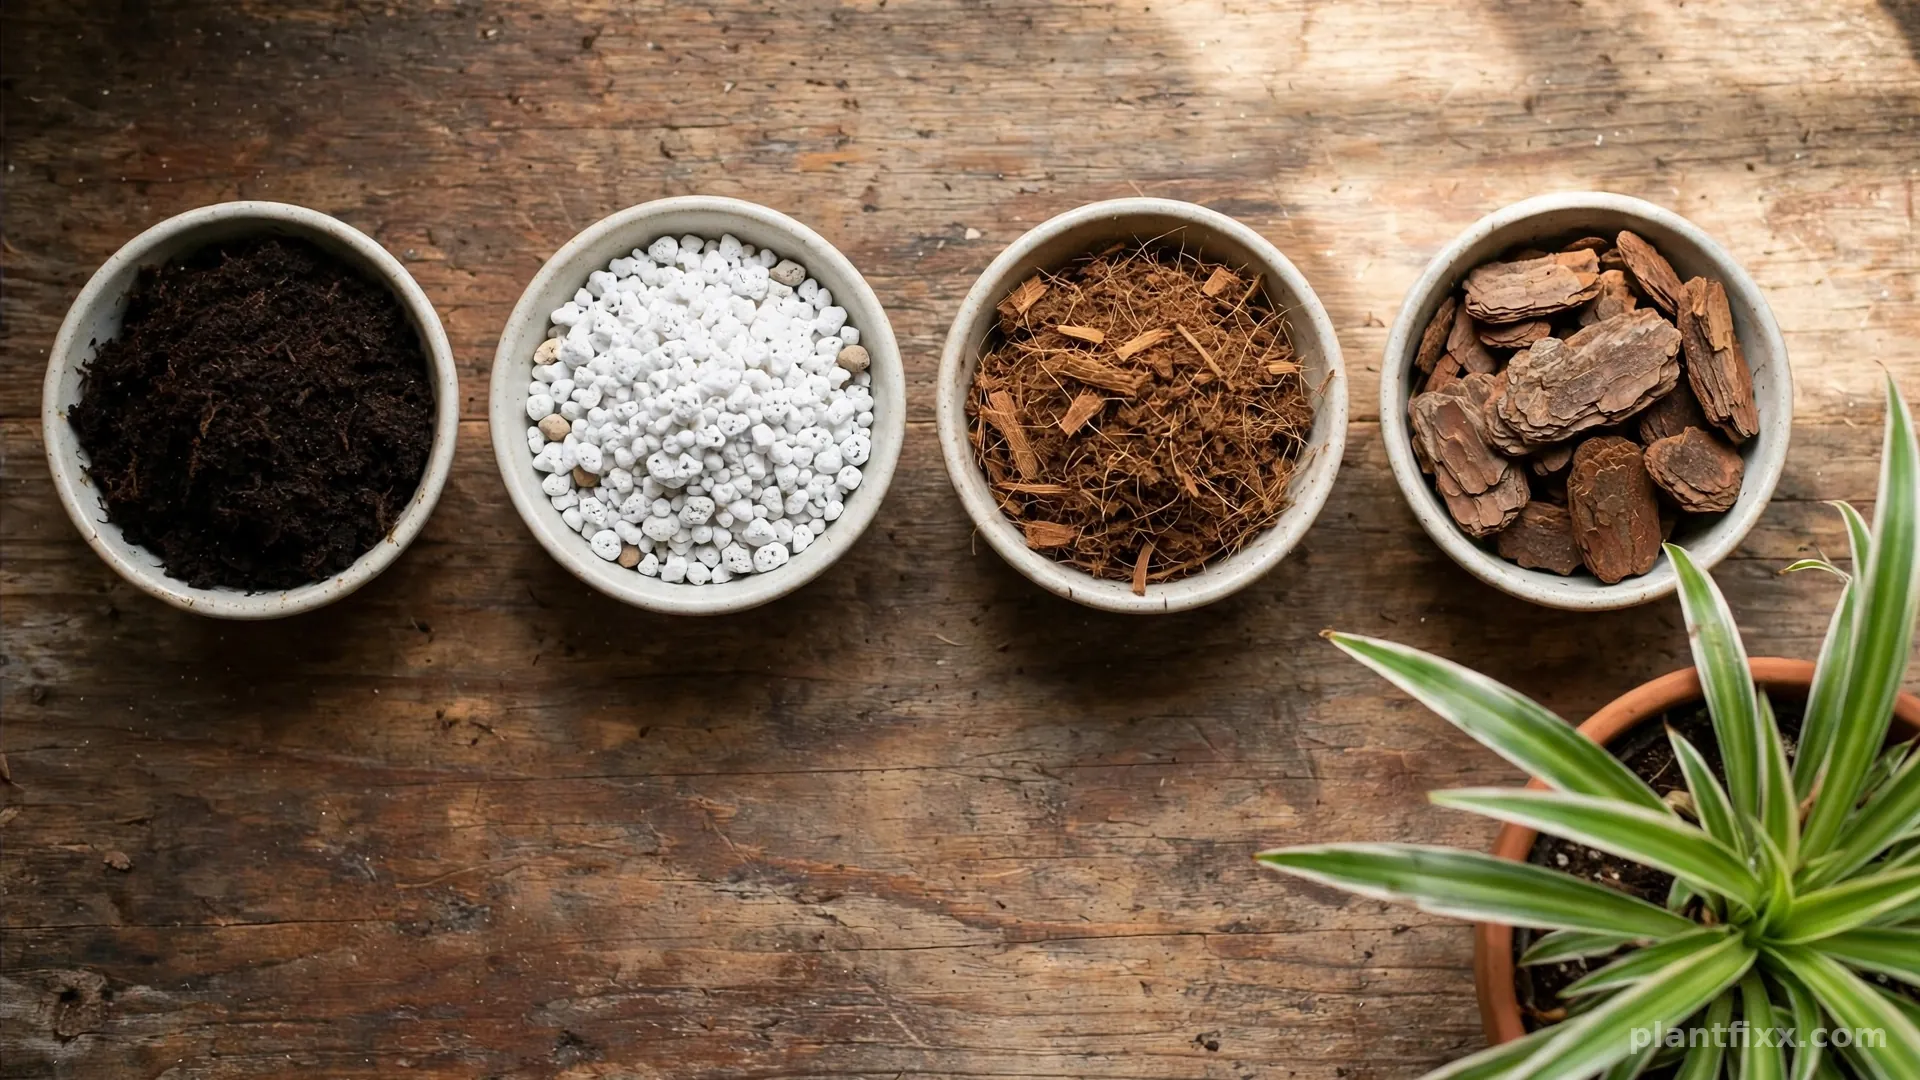
Spider plant soil ingredients fall into three jobs: holding moisture, creating drainage, and feeding the plant. A balanced mix uses at least one ingredient from each group.
| Ingredient | Main job | Share of mix | Watch out for |
|---|---|---|---|
| Peat moss | Holds moisture and nutrients | 40 to 50 percent | Acidic, repels water when bone dry |
| Coco coir | Holds moisture, near-neutral pH | 40 to 50 percent | Rinse first if the brand is salty |
| Perlite | Drainage and aeration | 25 to 33 percent | Dusty when dry, floats to the surface |
| Pumice | Drainage and aeration | 25 to 33 percent | Heavier and pricier than perlite |
| Pine bark fines | Structure and slow drainage | 20 to 25 percent | Ties up nitrogen as it decomposes |
| Compost or worm castings | Gentle nutrition, microbial life | 10 to 25 percent | Too much makes the mix dense |
| Coarse sand | Weight and drainage in large pots | 10 to 20 percent | Fine sand does the opposite and compacts |
| Vermiculite | Holds moisture and nutrients | 10 to 20 percent | Excess keeps soil wet too long |
Peat moss and the classic base
In most classic recipes, spider plant soil peat moss forms about half the blend. Growers have relied on it for decades because it holds several times its weight in water and keeps nutrients available to roots. Its weaknesses are real: it turns hydrophobic when it dries out completely, and it acidifies the mix as it breaks down. Coco coir now replaces it in many recipes because it rewets easily and sits closer to neutral pH. Either base works. Pick the one you can source consistently, and pre-moisten it before mixing.
Perlite, pumice, and bark for drainage
Perlite is the white volcanic rock in almost every bagged mix, and it is the drainage ingredient most growers reach for first. The standard spider plant soil perlite share is about one quarter of the finished mix, and raising it toward one third is the single most effective fix for a plant that stays wet. Pumice does the same job, sinks instead of floating, and costs more. Pine bark fines add chunky structure that keeps air channels open for a year or longer. Use at least one of the three in every blend. A mix with no grit component is a mix that will compact.
The Standard Spider Plant Soil Recipe
This spider plant soil recipe is the one to start with. It suits a healthy plant in average indoor light and humidity, and it matches the ratios recommended across grower guides, including the 2 to 1 to 1 blend published by PlantIn.
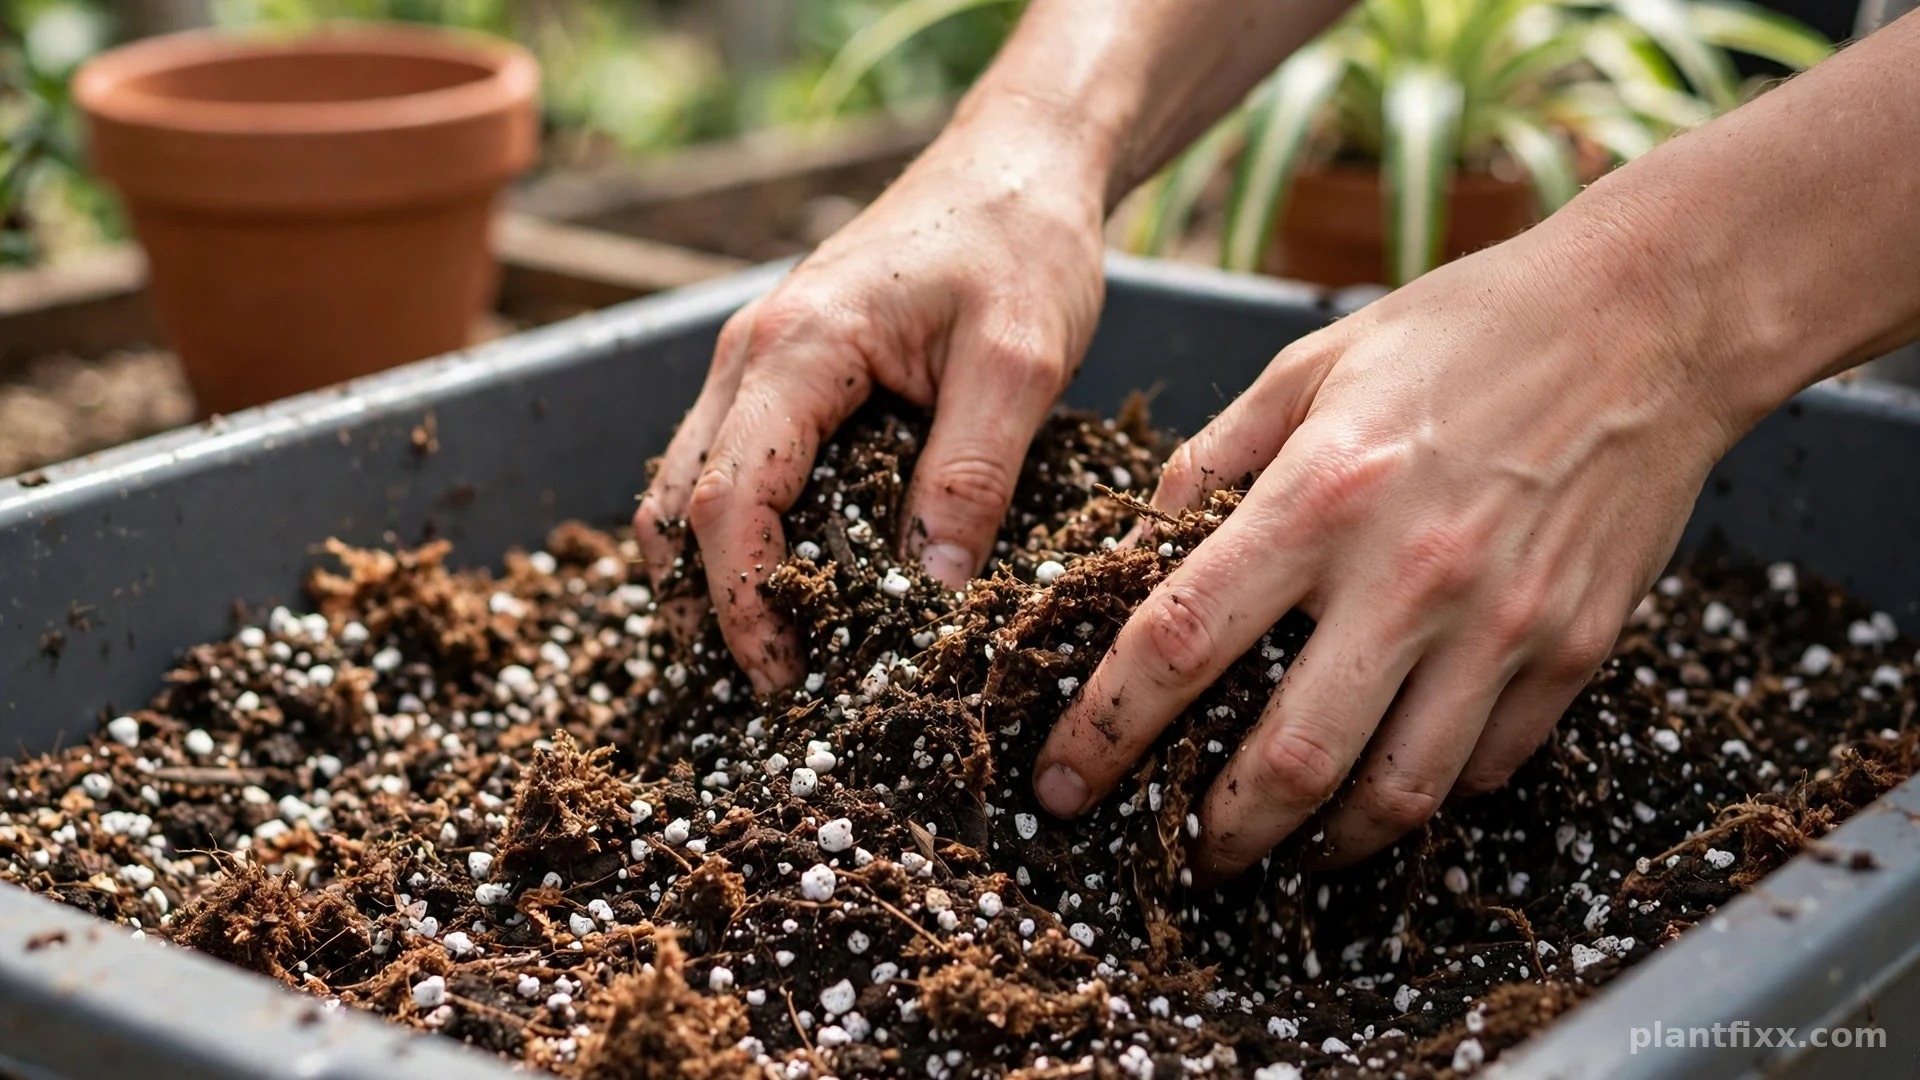
- Measure 2 parts peat moss or coco coir into a tub. Break up every lump with your hands.
- Add 1 part perlite or pumice. If your home is bright and dry, stay at 1 part. If your plant sits in low light, raise it to 1.5 parts.
- Add 1 part compost, worm castings, or pine bark fines. Compost feeds, bark structures, so choose based on whether the plant needs nutrition or drainage more.
- Mix dry until the color and texture look even from top to bottom.
- Add water gradually and keep mixing until the blend feels like a wrung-out sponge.
- Let the mix rest for 15 minutes, then check again. It should hold a loose ball when squeezed and crumble when poked.
| Recipe | Ratio | Best for | ||
|---|---|---|---|---|
| Standard mix | 2 parts peat or coir, 1 part perlite, 1 part compost or bark | Most indoor spider plants | ||
| Fast-draining mix | 1 part potting soil, 1 part bark fines, 1 part pumice | Low light rooms, overwatering history | 1 part fine coir or peat, 1 part fine perlite | Rooting pups in small pots |
Adjust the recipe to the plant in front of you. Plantlets root fastest in a finer, evenly moist blend, so use the baby plantlet mix when you pot up the babies described in our spider plant pups guide. A mature plant in a north-facing room needs the opposite: the fast-draining recipe, because light drives drying speed more than pot size does. Our breakdown of the best light for a spider plant explains how placement changes the whole care picture.
A Simple Drainage Test Before You Pot Up
Do not guess whether a mix drains well. Test it. Fill the empty pot with your blend, moisten it, then pour in a measured cup of water and time what happens. Water should appear at the drainage hole within a few seconds, and the surface should never hold a standing puddle. The pot should feel noticeably heavier afterward, which tells you the mix absorbed water instead of letting it channel down one dry edge.
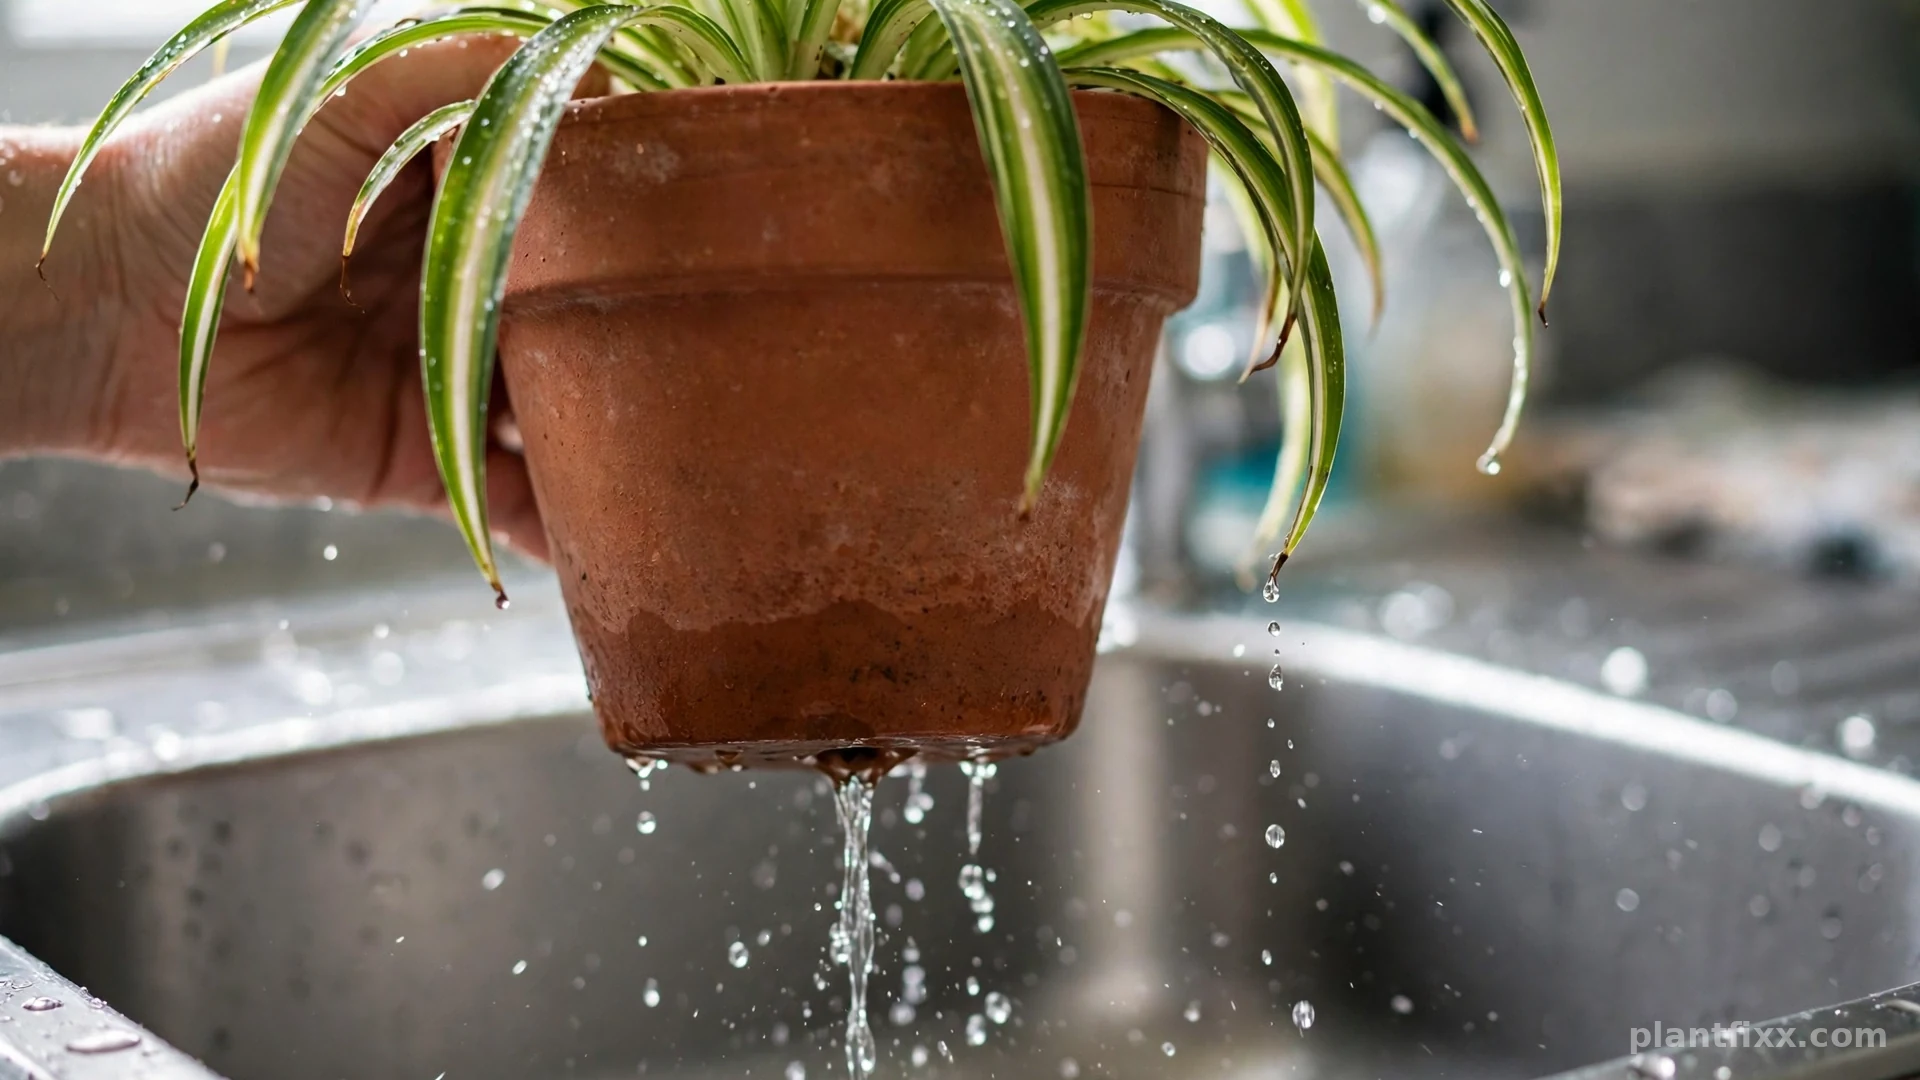
If water sits on top for half a minute, the mix is too fine or the peat went in dry. Blend in more perlite and test again. If water runs straight through and the pot stays light, add a little more coir or peat. Two minutes of testing prevents the two most common soil failures.
Store-Bought Potting Mix vs DIY
Any bagged spider plant potting mix labeled for indoor plants is a workable starting point, and for a single plant it is usually the sensible buy. Commercial blends arrive sterile, pre-moistened, and adjusted to a suitable pH. Their weakness is drainage: many are peat-heavy and hold water longer than a spider plant likes. The fix takes one minute. Blend roughly 2 parts bagged mix with 1 part perlite before potting.
DIY wins when you keep several plants, want a specific texture, or need to correct a problem a bagged mix caused. It also costs less per pot once you own the ingredients. The downside is storage and consistency. A blend you mixed in spring behaves differently from one mixed from a fresh bag in autumn if the ratios drift.
Whichever route you choose, treat any bagged spider plant soil for indoor growing as a base to adjust, not a finished answer. Check the ingredient list on the bag. If perlite appears near the end of the list, plan to add more. If the bag feels heavy and fine through the plastic, it will compact in the pot.
Spider Plant Soil Alternatives That Also Work
The standard recipe is not the only route. These spider plant soil alternatives suit specific situations:
- Cactus and succulent mix with added coir. Straight from the bag it drains too fast and holds too little moisture, but blending it half and half with coco coir produces a lean, airy mix that suits bright rooms.
- Aroid-style chunky mix. Bark, perlite, and coir in roughly equal parts. It dries quickly and needs more frequent watering, but roots grow exceptionally well in it.
- Soilless coir and perlite. A clean option for growers who fertilize on a schedule, since the mix itself contributes almost no nutrition.
- Quality bagged houseplant mix, unamended. Acceptable for a plant in bright light that dries between waterings. The moment drying slows down, add perlite.
Two options to avoid: garden soil dug from outdoors, which compacts in pots and carries weed seeds and pathogens, and moisture-control mixes loaded with water-retaining gel. The gel crystals release water unpredictably and keep the root zone wetter than spider plant roots tolerate.
Signs Your Soil Mix Is Working
A good mix announces itself within a few weeks. Watering follows a predictable rhythm: the top inch or two dries in a few days, and the plant never sits in runoff for long. New leaves emerge at the center with strong color, and variegated stripes stay crisp instead of fading to plain green. Roots visible at the drainage hole look white or pale tan and feel firm.
The strongest sign is stability. The plant’s thirst, leaf color, and growth rate stop swinging, and care becomes boring in the best way. When a plant that was fading starts producing runners and plantlets again, the roots are getting the air and moisture balance they needed.
Spider Plant Soil Problems and How to Fix Them
Even a good mix degrades. These are the spider plant soil problems growers run into most, in the order they usually appear.
White mold on the soil surface
Spider plant soil mold looks like a thin white or pale gray fuzz spreading across the top of the mix. It is usually a harmless saprophytic fungus feeding on decaying organic matter, and it appears when the surface stays constantly damp and air barely moves. The fungus itself rarely harms the plant, but it is a reliable warning that the soil is staying too wet.
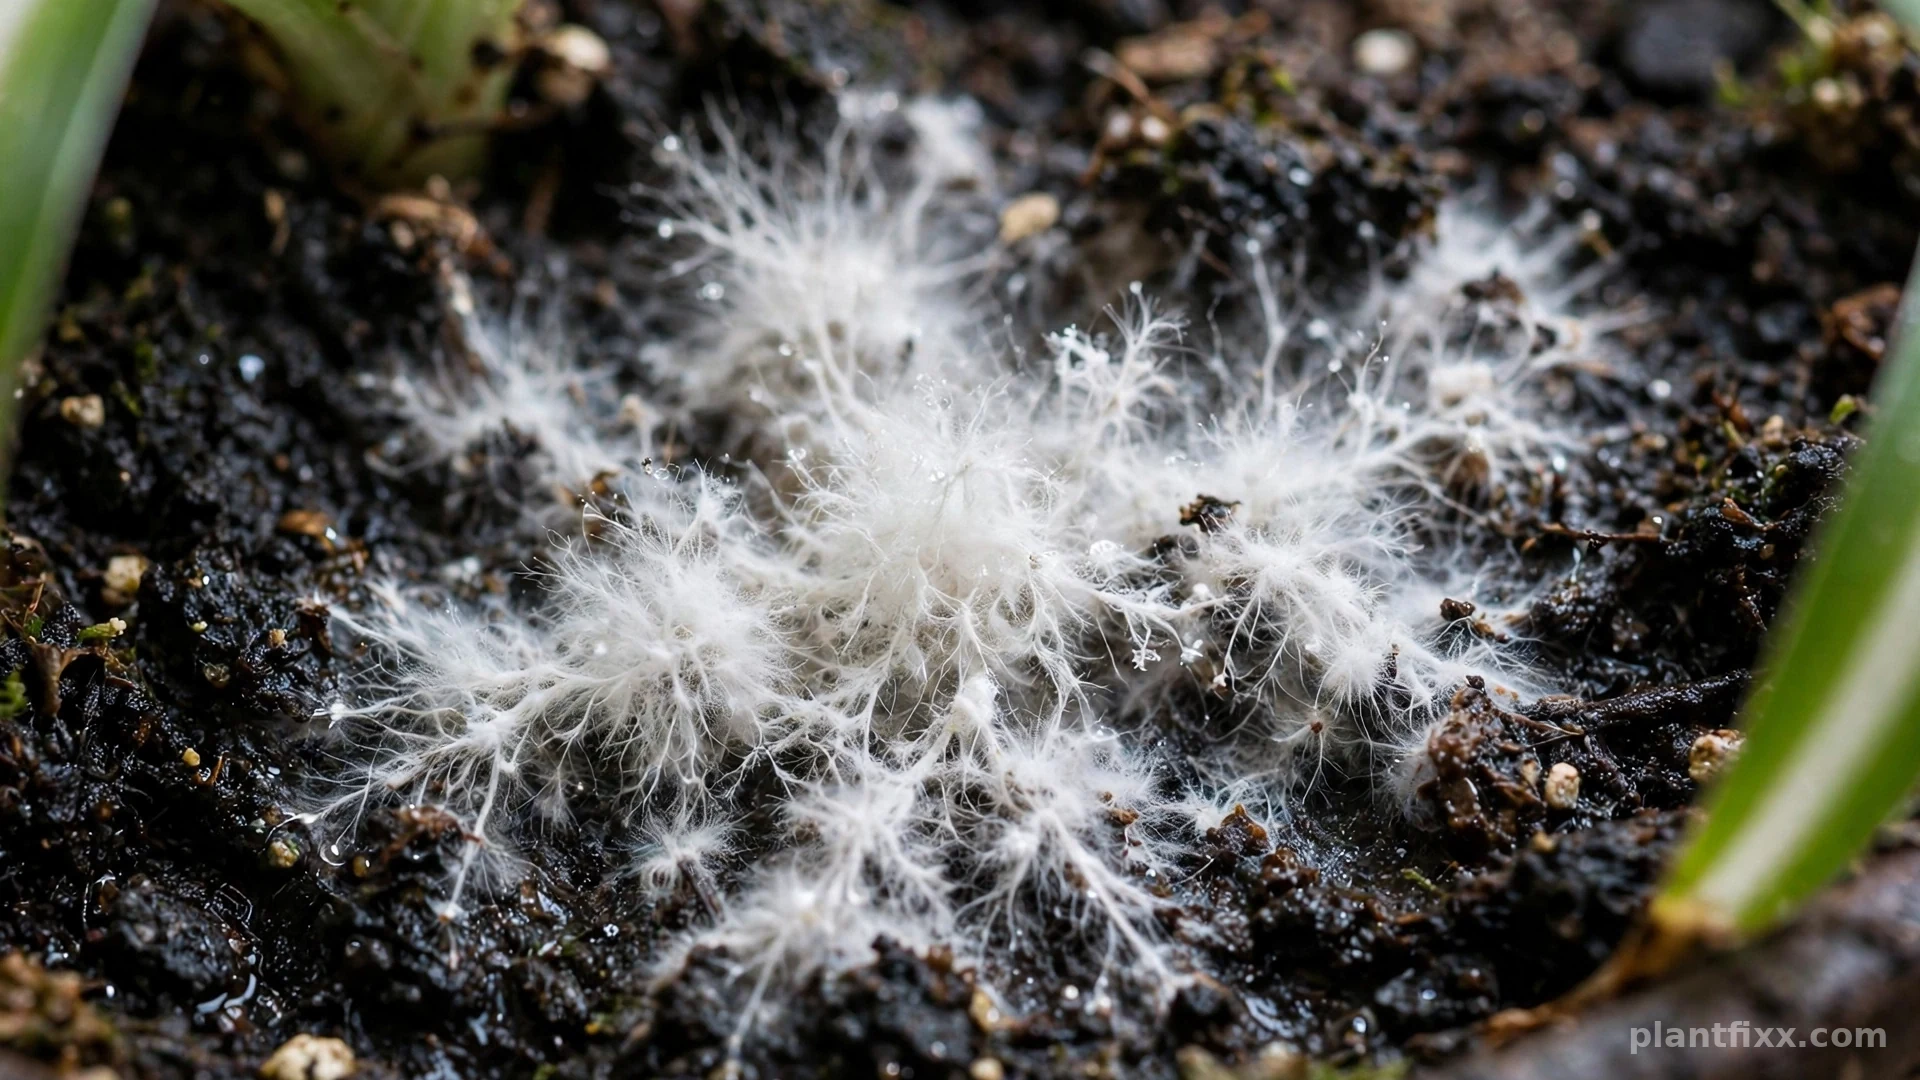
Scrape off the top half inch of mix and replace it with fresh, dry blend. Let the surface dry between waterings, and move the pot somewhere with better air movement. Persistent mold that returns within days, paired with tiny black flies around the pot, points to a deeper moisture issue, and the pest side of that picture is covered in our spider plant pests and diseases guide. Cinnamon dusted on the surface is a popular home remedy, but drying and airflow do the real work.
A sour or rotten smell from the pot
Healthy potting mix smells like a forest floor. A spider plant soil smell that turns sour, eggy, or swampy means anaerobic bacteria have taken over pockets of the mix where oxygen no longer reaches. That is the smell of roots beginning to rot, and it needs action, not patience.
Slide the plant out of the pot and inspect the roots. Healthy roots are white or pale and firm. Rotten roots are brown or black, soft, and slimy, and the bad smell concentrates around them. Cut away every rotten section with clean scissors, let the root ball air for an hour, and repot into fresh mix with extra perlite. Water lightly once, then let the plant recover on the dry side.
Compacted soil that water cannot enter
Old peat-based mixes shrink, harden, and pull away from the pot walls. Water then runs down the gap and out of the drainage hole without wetting the root ball at all, so the plant wilts in soil that looks freshly watered. Poke the surface with a chopstick. If it feels like a crust, bottom-water the pot in a bowl for 30 minutes to rewet the mix this time, then plan a repot. Compaction at this stage does not reverse.
White crust on the surface
A white or pale crust that is hard and crystalline, rather than soft and fuzzy, is mineral salt from fertilizer and hard tap water. It is not mold. Scrape it off, then flush the pot under the tap for a full minute to wash accumulated salts through. If crust builds up every few weeks, flush monthly and consider filtered or rainwater for a plant that also shows brown leaf tips.
Amending Soil Without a Full Repot
A full repot is not always necessary. A spider plant soil amendment can rescue a mix that is only slightly off. If the plant is healthy but the soil dries too slowly, work perlite into the top two inches with a fork and top-dress with a half inch of bark fines, which keeps the surface drier and discourages mold. If the mix dries too fast, top-dress with coco coir or worm castings and water it in.
Know the limits of amending. Surface fixes cannot repair a mix that is compacted through the whole pot or one that smells sour. Amendment buys a season at most. When the root ball itself is the problem, repotting is the honest fix, and spring is the easiest time to do it.
When to Replace the Soil Completely
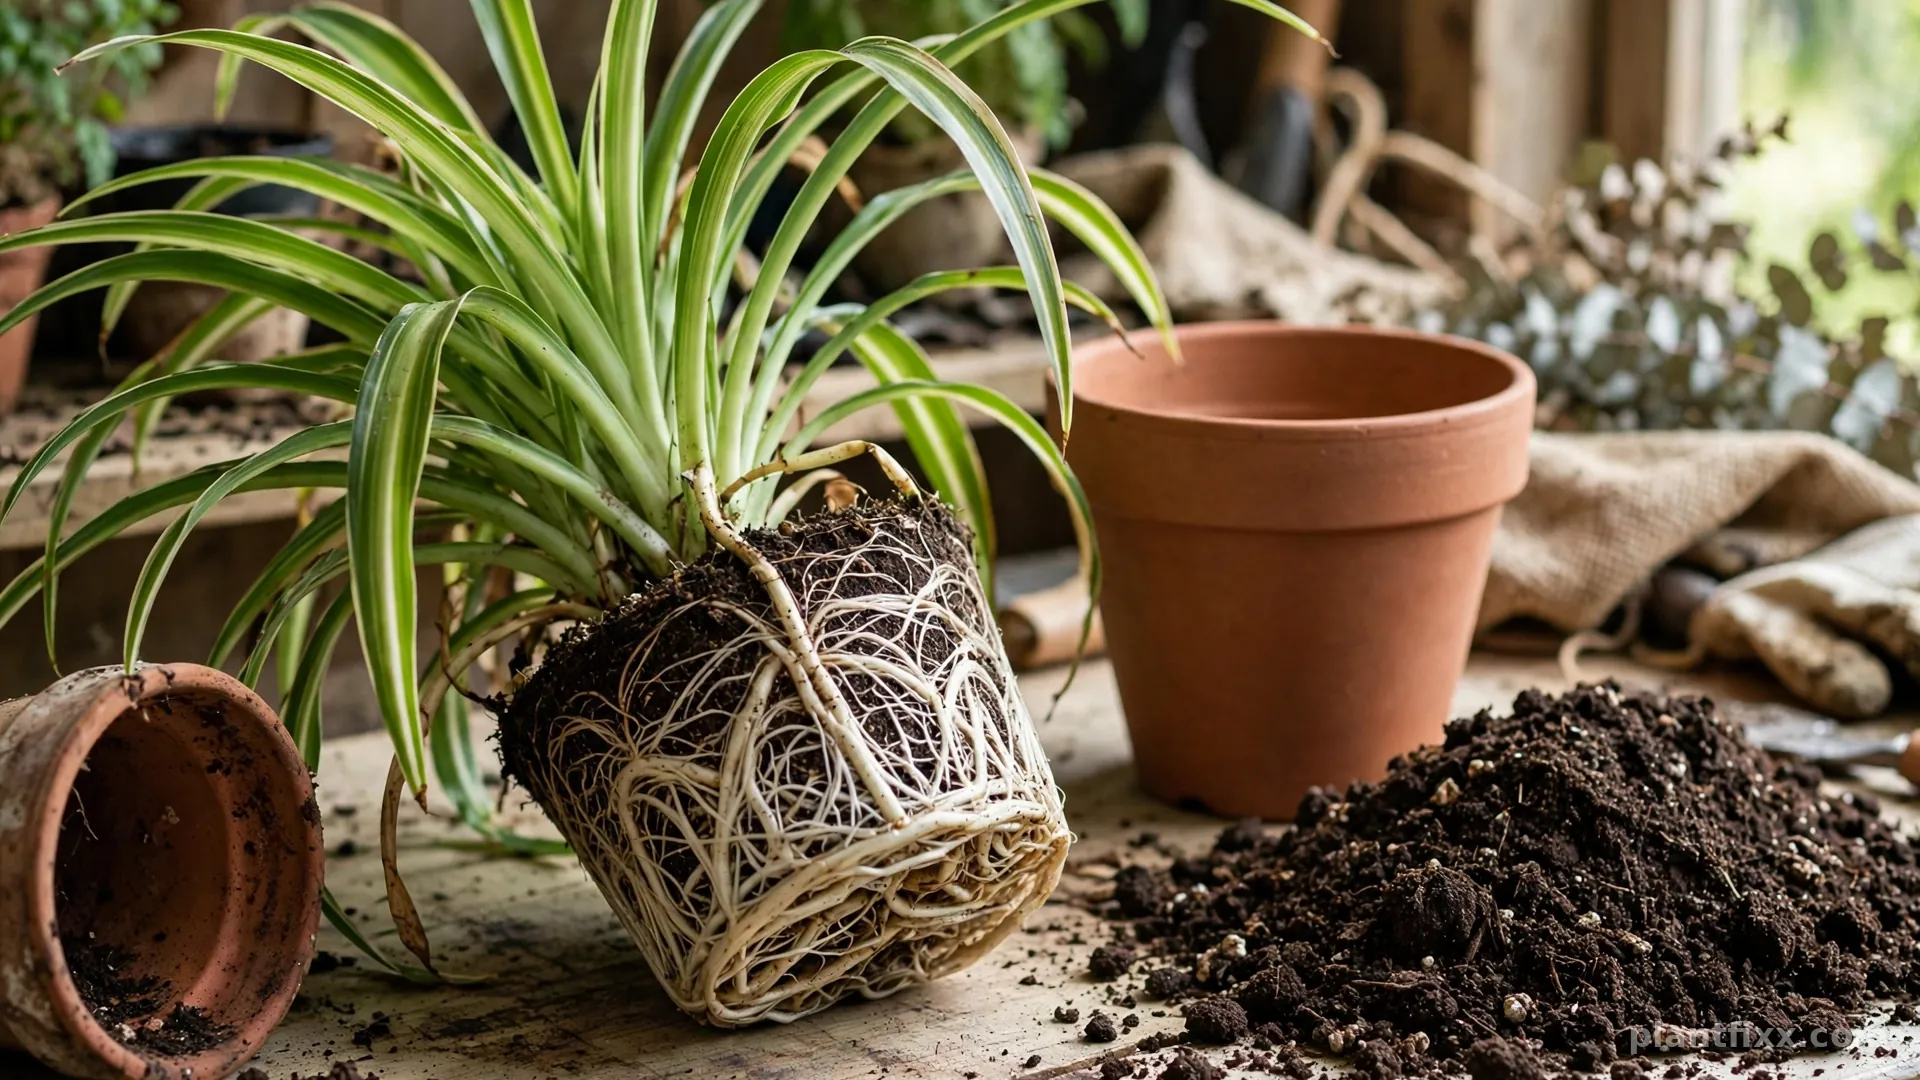
Replace the entire mix when you find rotten roots, when the soil has compacted into a solid mass, when salts crust the surface within days of flushing, or when the mix is more than about two years old and has broken down into fine sludge. Shake old mix off the roots gently, trim anything dead, and pot into fresh blend at the same depth as before. Most spider plants resume growth within two to three weeks of a clean repot. Our full spider plant care guide covers the watering and light routine to pair with the fresh soil.
What is the best soil for a spider plant?
The best soil for a spider plant is a loose, fast-draining mix of 2 parts peat moss or coco coir, 1 part perlite, and 1 part compost or bark fines, at a pH of 6.0 to 7.0. A bagged indoor potting mix with extra perlite blended in is an equally good shortcut.
Can I use regular potting soil for a spider plant?
Yes, regular indoor potting soil works if you improve its drainage first. Blend in perlite at roughly 1 part perlite to 2 parts soil, and always use a pot with a drainage hole. Unamended bagged soil tends to stay wet too long for spider plant roots.
Can a spider plant grow in cactus or succulent soil?
It can, but straight cactus soil dries too fast and holds too little moisture for a spider plant. Blend it half and half with coco coir or regular potting mix to restore some moisture retention, and expect to water more often than with the standard recipe.
Why is there white mold on my spider plant soil?
White mold appears when the soil surface stays constantly damp with little air movement. It is usually a harmless fungus feeding on the mix, but it signals overwatering. Scrape off the top layer, replace it with fresh mix, and let the surface dry between waterings.
How often should I replace spider plant soil?
Refresh the mix every one to two years, ideally in spring, or sooner if it compacts, smells sour, or drains poorly. Between full replacements, a yearly top-dressing of fresh mix and worm castings keeps nutrition and structure in reasonable shape.
Can I use garden soil for a spider plant indoors?
No. Garden soil compacts hard in pots, drains poorly, and can carry weed seeds, fungal pathogens, and insect eggs into your home. A soilless potting mix is sterile, loose, and blended for containers, which is exactly what indoor roots need.
Is a spider plant safe for cats and dogs?
Yes. The spider plant is non-toxic to cats and dogs, which makes it one of the easiest houseplants to keep around pets. You can confirm any plant before buying it with our pet-safe plant checker, and brush fallen soil off the floor so pets do not snack on fertilizer granules.
Conclusion
Soil is the one part of spider plant care you set once and benefit from for years. A loose mix at pH 6.0 to 7.0, built on peat or coir with a solid share of perlite, drains fast enough to protect the roots and holds enough moisture to keep watering relaxed. Test the drainage before you pot up, watch for mold, sour smells, and compaction as the mix ages, and amend or replace it before small problems reach the roots. Get the mix right and the plant handles the rest.
Pingback: Spider Plant Repotting Guide: Signs, Steps and Pot Size
Pingback: Spider Plant Care Guide: Full 2026 Guide