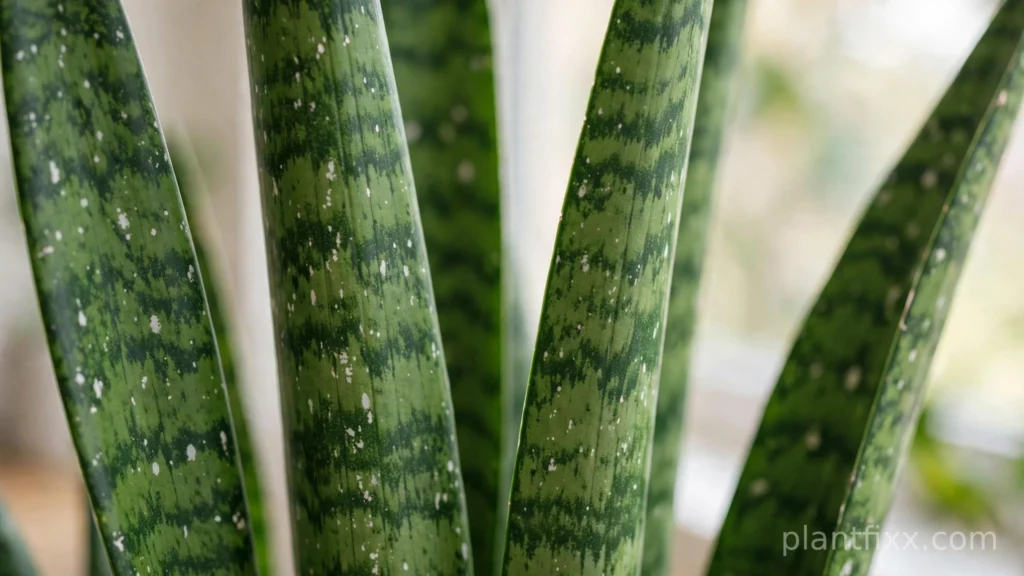
White spots on snake plant leaves look alarming. One week the leaves look clean, the next week a leaf carries pale dots, a chalky film, or cottony patches.
The mistake most people make is treating every white spot the same way. A cottony patch needs a different fix than a chalky crust, and a sun bleached leaf needs a different fix than a fungal film.
This guide walks through each cause: how to tell them apart, what to do for each one, and how to stop them from coming back.
White spots on snake plant leaves are most often mealybugs, mineral deposits from hard water or fertilizer, powdery mildew, spider mites, scale insects, or sun bleaching. Touch the spot to identify it. Cottony means pests, gritty means minerals, powdery means fungus, and a pale bleached patch means too much direct sun.
Quick Take: Isolate the plant first, so pests or fungus cannot reach your other houseplants. Then use the touch test in this guide to name the cause. Wipe pests off with alcohol, rinse mineral crust with filtered water, treat fungus with better air flow and neem oil, and move a sun bleached plant into bright indirect light. Old spots stay put, but new growth comes in clean.
In practice, the fastest diagnosis takes less than a minute. Look at where the spots sit, rub one gently between your fingers, and check whether it wipes away.
Why White Spots Appear on Snake Plant Leaves
Snake plant leaves carry a thick waxy coating that makes deposits easy to see. Anything that lands on the leaf, from pest secretions to mineral salts to fungal spores, shows up as a pale mark against the dark green surface.
Spots form for three broad reasons: something is living on the leaf, something has dried on the leaf, or the leaf tissue itself has changed color. Surface marks wipe away, while tissue damage does not.
What Causes White Spots on Snake Plant Leaves
Work through the six causes below. Check the leaf bases and undersides too, since several problems start there.
1. Mealybugs
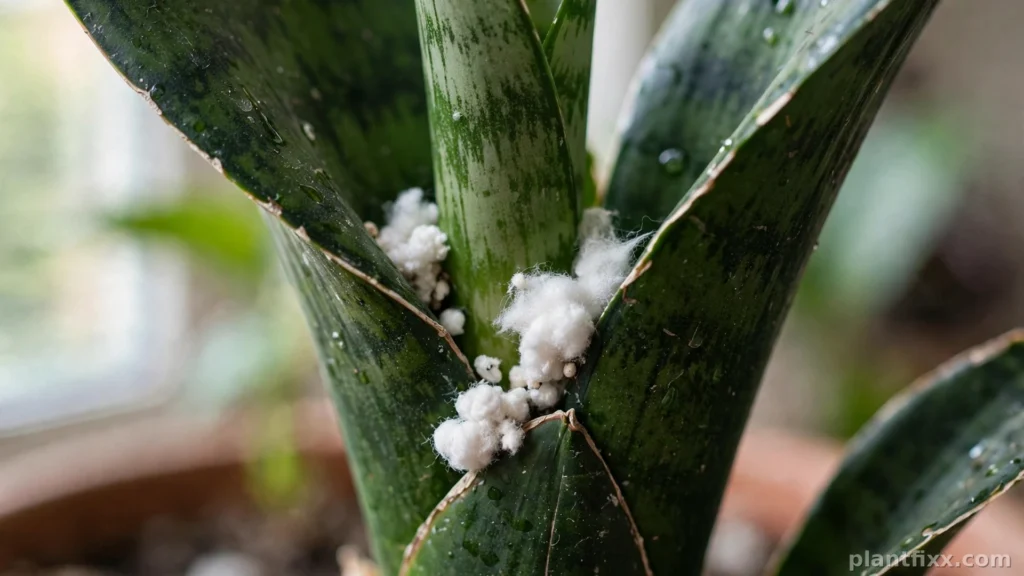
Mealybugs look like tiny clumps of cotton tucked into leaf joints, along the base, or on the undersides of leaves. They feed on sap and leave a sticky residue called honeydew. Confirm them by dabbing a patch with a cotton swab dipped in rubbing alcohol. The clusters smear and come away on the swab. To fix them, isolate the plant, dab every cluster with an alcohol dipped swab, and wipe the leaf. Repeat every 4 to 5 days for at least three weeks, because eggs survive the first pass.
2. Scale Insects
Scale insects look like small hard bumps in white, tan, or brown. They do not move, so people often mistake them for part of the leaf. They cluster along leaf edges and near the base. A scale insect lifts off as a small shell under a gentle fingernail, while a natural leaf mark stays put. To fix them, spray the leaves with mild soapy water, wait a few minutes, then wipe each bump away with a soft cloth and rinse. Repeat weekly until no new bumps appear.
3. Spider Mites
Spider mites are tiny, and you usually notice their damage before you see the mites. Look for fine pale speckles across the leaf, plus delicate webbing in leaf joints. They prefer warm dry air near heaters. Hold white paper under a leaf and tap it. Tiny moving dots point to mites. To fix them, rinse both sides of every leaf with lukewarm water, aiming at the undersides, then follow with a neem oil spray in the evening. Repeat once a week for three weeks.
4. Powdery Mildew and Fungal Leaf Spot
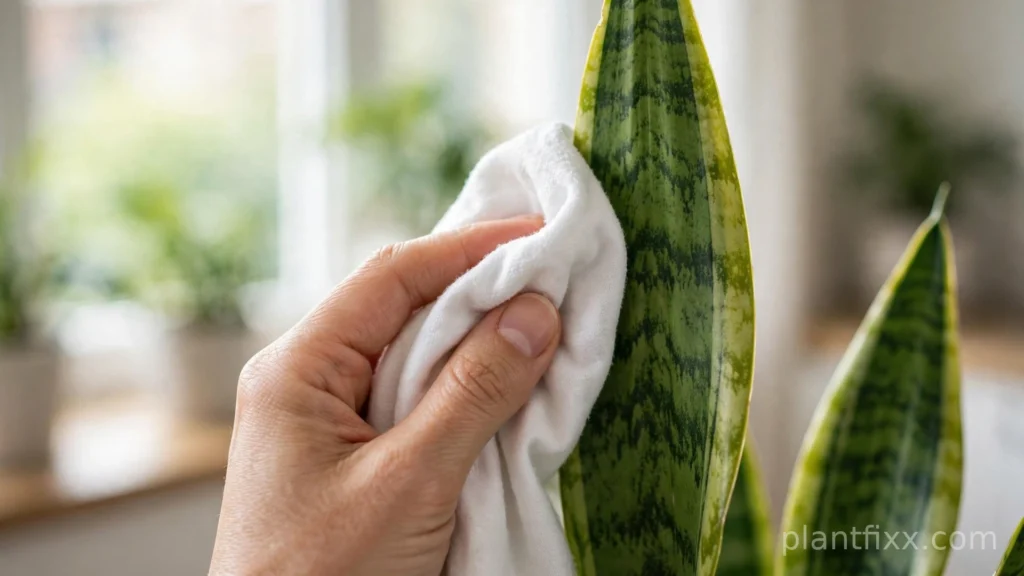
Fungal growth appears as a fine powdery film that spreads across the leaf surface, or as irregular chalky patches. It feels dusty and brushes off easily at first. It thrives where air sits still, leaves stay wet, and humidity runs high. If the film returns within days of cleaning, fungus is the likely cause, since mineral crust does not spread. To fix it, move the plant to a spot with moving air and bright indirect light. Wipe the film off with a cloth dampened in filtered water, then apply neem oil per the label. Water the soil only.
5. Mineral Deposits From Hard Water and Fertilizer
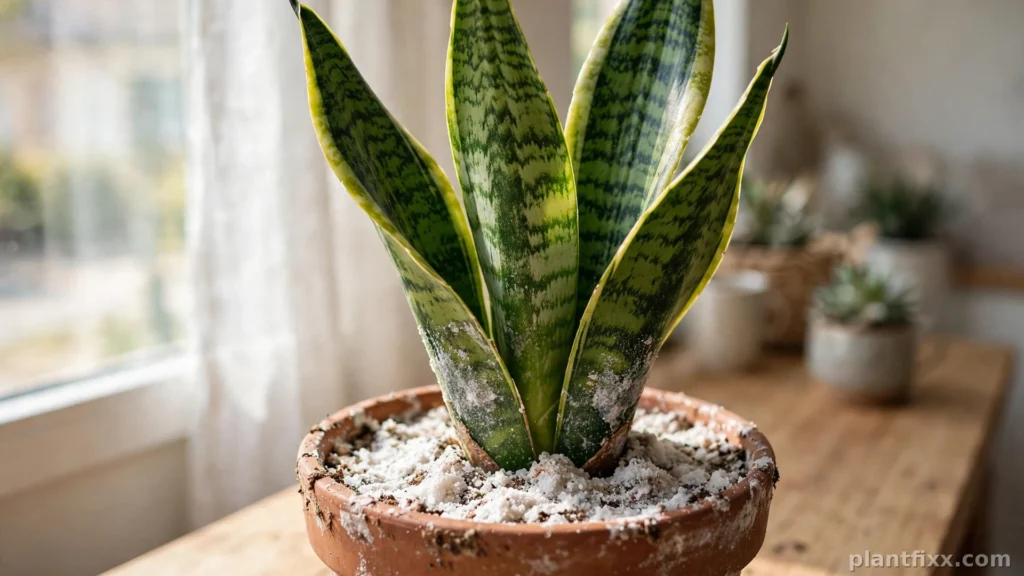
Tap water and fertilizer both carry dissolved salts. When water dries on a leaf, those salts stay behind as a gritty white crust. The same salts can crust on the soil surface. Rub the spot between your fingers. Mineral deposits feel gritty or chalky and do not smear. To fix them, wipe the leaves with a cloth dampened in filtered or distilled water. Then flush the soil with filtered water until it runs freely from the drainage holes. Let the pot drain fully and switch to filtered water.
6. Sunscald and Bleaching
Strong direct sun bleaches snake plant leaves. The marks look like pale washed out patches rather than raised spots, and the leaf feels thin and papery in the bleached area. Moving a plant straight from a dim room to a sunny window is the classic case. The mark sits inside the leaf, so it does not wipe off and does not spread to other plants. To fix it, move the plant into bright indirect light, a few feet back from the window or behind a sheer curtain. Shift it in stages over a week. Trim only leaves that are fully bleached and papery.
Normal Variegation Is Not a Problem
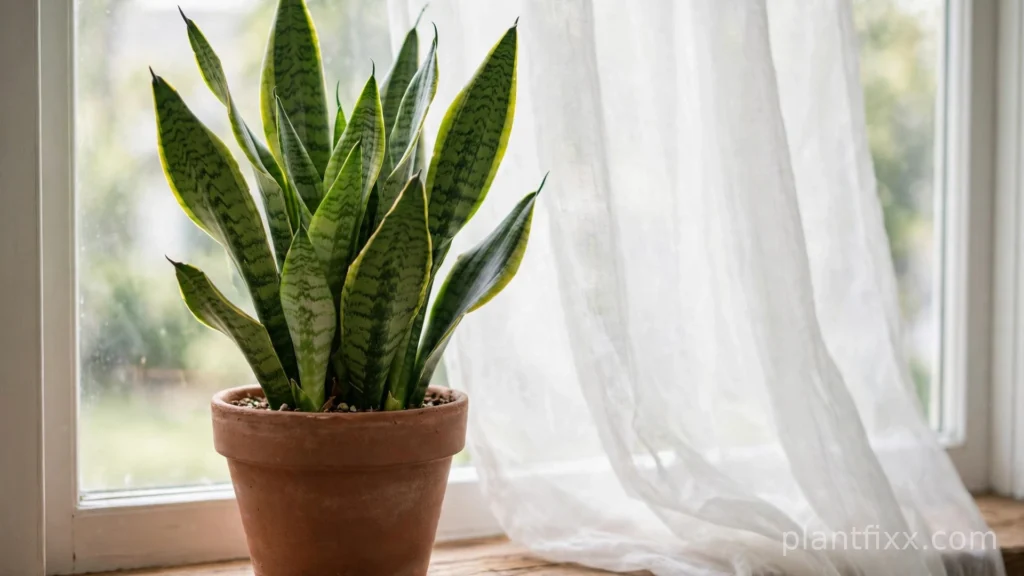
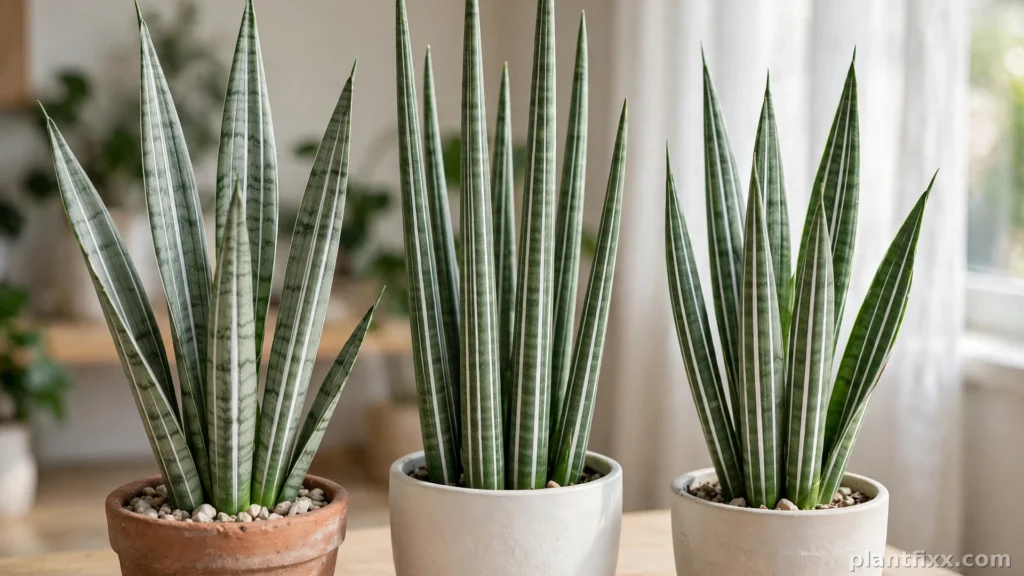
Before you treat anything, check whether the white is natural. Laurentii has yellow leaf edges, Moonshine has silvery green leaves, and Bantel’s Sensation carries white vertical stripes. These markings are even, symmetrical, and present from the time the leaf unfurls. Damage looks different. It appears on leaves that were once plain green, sits unevenly, and changes over days. For help matching your plant to its variety, see our guide to snake plant varieties.
Diagnose the Spots in One Minute
| What you see and feel | Likely cause | First move |
|---|---|---|
| Cottony clumps in leaf joints that smear on a swab | Mealybugs | Dab each cluster with alcohol |
| Hard bumps that lift off as small shells | Scale insects | Wipe with soapy water, then rinse |
| Fine pale speckles plus webbing | Spider mites | Rinse the plant, repeat weekly |
| Powdery film that spreads and returns after wiping | Fungal growth | Air flow plus neem oil |
| Gritty white crust that does not smear | Mineral deposits | Filtered water wipe, flush soil |
| Pale bleached patch, thin papery leaf | Sunscald | Move to bright indirect light |
| Even white or yellow stripes on new leaves | Natural variegation | No treatment needed |
What You Need Before You Start
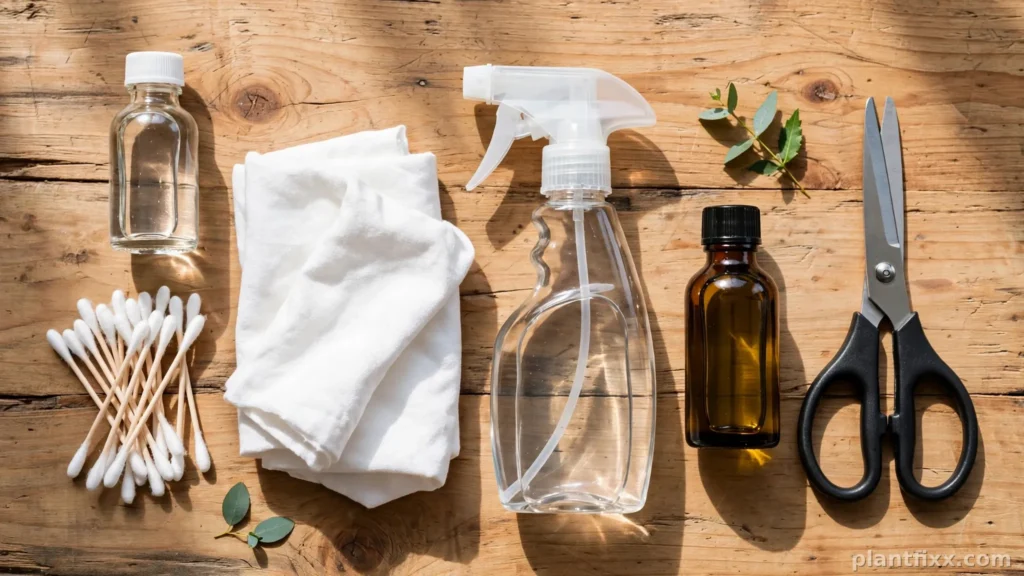
Gather these supplies before you treat the plant, so you can finish in one pass.
- Rubbing alcohol (70 percent) and cotton swabs for mealybugs
- A soft cloth and a spray bottle of filtered water
- Mild liquid soap for scale insects
- Neem oil spray, mixed per the label
- Clean scissors and a plastic bag for badly infested leaves
Test any spray on one small leaf edge first and wait a day. Keep the plant out of direct sun while leaves are wet.
Signs It Is Working
Recovery shows up in new growth first, not in old spots. Over the next two to four weeks, look for new leaves that emerge clean and firm, with no fresh clusters, bumps, or film after two weeks. Old marks are scars. Judge success by what grows next.
Signs It Failed
Act fast if spots spread to new leaves within a week, leaves turn soft at the base, leaves yellow or droop, or pest clusters return within days despite repeat passes. A soft base means the problem has moved below the soil line. Unpot the plant, cut away black or mushy roots, and repot in fresh free draining mix. Our guide to snake plant root rot walks through the rescue step by step.
How to Prevent White Spots From Coming Back
- Water the soil, not the leaves, and let it dry between waterings
- Give bright indirect light, and move the plant gradually into brighter spots
- Keep air moving and avoid crowding plants together
- Wipe leaves monthly to catch pests early
- Use filtered water if tap water leaves crust on pots
- Feed lightly in spring and summer only
- Quarantine new plants for two weeks
Check leaf bases and undersides every time you water. For the full care routine, see our snake plant care guide and our snake plant light requirements guide.
Frequently Asked Questions
Can white spots kill a snake plant?
White spots alone rarely kill a snake plant. Pests and fungus turn dangerous only when they spread unchecked or rot sets in at the base.
Should I remove leaves with white spots?
Remove a leaf only when it is heavily infested, more than half damaged, or soft at the base. Leave lightly marked leaves in place, since they still feed the plant.
Can I use neem oil on snake plant leaves?
Yes, neem oil works on snake plant leaves when mixed per the label. Apply in the evening, keep the plant out of direct sun until the leaves dry, and test one leaf first.
Are white spots contagious to other plants?
Pests and fungus can spread to nearby plants, so isolate an affected plant until treatment is done. Mineral deposits and sunscald do not spread.
Why do white spots keep coming back?
Spots return when the cause stays in place. Eggs survive pest passes, fungus returns when air stays still and leaves stay wet, and mineral crust returns with hard water.
Your Next Step
White spots on a snake plant look worse than they usually are. Name the cause with the touch test, treat that cause, and fix the habit behind it. Most plants recover within a few weeks.
If your plant also curls or shows brown tips, check our guides to snake plant leaves curling and snake plant brown tips to rule out a second problem. For watering help, see our snake plant watering guide.
Pingback: Snake Plant Brown Tips: 9 Hidden Causes & Easy Fixes (2026)
Pingback: Best Soil Mix for Snake Plants: 4 Ingredients, No Root Rot